This guide will teach you how to install Redis and manage the Redis service using various techniques.
Install and Configure Redis
For this tutorial, we will be using the latest version of the Ubuntu server. Therefore, the methods in this tutorial will work on Debian-based distributions.
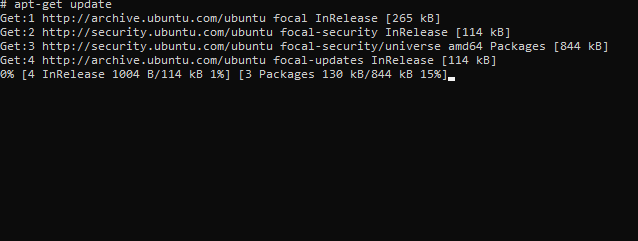
Step 1: Update local apt packages:
Step 2: Install Redis using the APT package manager:
The previous command will install the Redis server and all the required dependencies. Once the installation is complete, you can start using Redis.
Starting the Redis Server
There are various ways and methods to manage the Redis service. The first method is to use the Redis startup client.
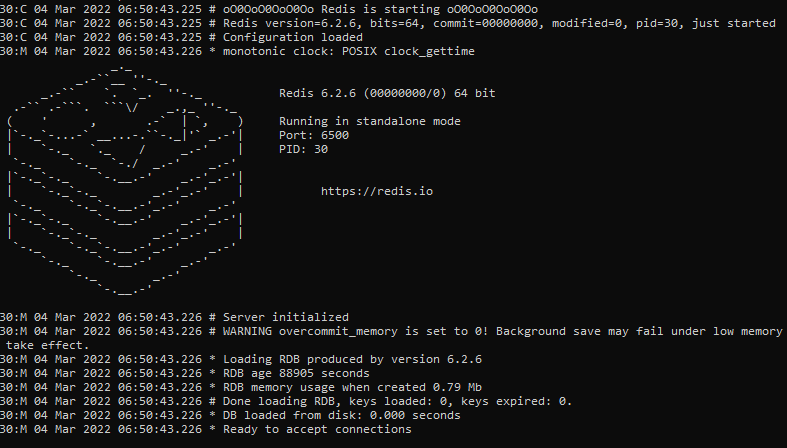
For example, to run the Redis server, execute the following command:
Running the previous command will start the Redis server on the default port. If you want to run Redis on a custom port, use the following command:
The second method you can use to start the Redis server is the init.d manager. The command is as shown:
The previous command should start the Redis server.
Restarting Redis Server
In some instances, you may need to restart the Redis server. In these cases, we can use the following command:
The prevous command will stop and start the Redis server as shown in the output below:
Stopping redis-server: redis-server.
Starting redis-server: redis-server.
Stopping the Redis Server
Similarly, you can stop the Redis server using the init.d utility as provided below:
If you started the Redis server using the redis-server command, you could stop the Redis server by pressing CTRL + C.
Conclusion
This tutorial explores the basics of managing the Redis server service, such as installing, configuring, restarting, and stopping the Redis server. We hope you found this article helpful. Check out the other Linux Hint articles for more tips and information.


