Package #1: Pixelitor
Pixelitor is a free and open-source program for image editing that uses layers, layer masks, text layers, filters, and multiple undo, amongst many other features. The only requirement is Java 8 or higher. There is little documentation about how to use it, and as such, it is recommended that users of Pixelitor be familiar with Photoshop and other such programs. Pixelitor is very similar to Adobe Photoshop; it’s almost a copy.
In order to install it:
- Download Pixelitor from https://sourceforge.net/projects/pixelitor/files/latest/download.
java -jar pixelitor_VERSION.jar
Package #2: ImageMagick
ImageMagick is a free and open-source command-line interface image editing software that can create, edit, compose or convert any image (in over 200 formats). In fact, it can resize, flip, mirror, rotate, distort, shear, transform images, adjust colors, and apply special effects or texts.
Installing ImageMagick:
$ cd ImageMagick-7.1.0
$ ./configure
$ make
$ make install
You might run into problems installing it manually; in such cases, you can install it from the repository:
The best part about ImageMagick is that there is great documentation, and as such, they will teach you how to carry out each image conversion on their website.
For example, to resize an image from 1200×899 to 64×64:
Either way, you can find detailed CLI commands at https://imagemagick.org/index.php.
Package #3: GraphicsMagick
GraphicsMagick is yet another free and open-source image processing tool. However, it is referred to as the swiss army knife of image processing. It claims that it can support huge images (gigapizel-size images). Derived from ImageMagick, GraphicsMagick claims that it is faster than ImageMagick. In fact, sites like Flickr and Etsy use GraphicsMagick to process images. More information about GraphicsMagick can be found at http://www.graphicsmagick.org/.
To install GraphicsMagick:
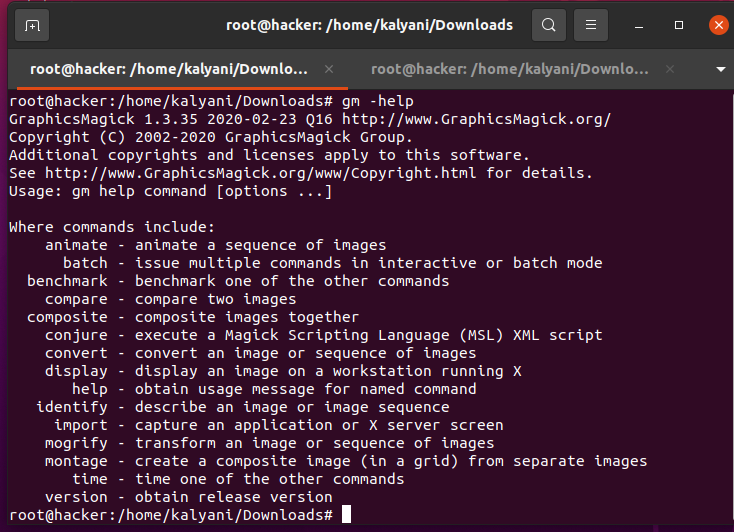
Once installed, you can access the help command by entering:
You’ll get a list of 14 commands that you can use. These include animate, batch, banchmark, compare, composite, conjure, convert, display, help, identify, import, mogrify, montage, and time. In order to get more information about a particular command, you can do the following:
Ex: gm mogrify -help
In this example, mogrify will bring up a very large number of more commands that you can use. You can pick and choose the ones you want and put together a full command that will carry out the task you have in mind.
gm batch [ options ... ] [ script ]
gm benchmark [ options ... ] subcommand
gm compare [ options ... ] reference-image [ options ... ] compare-image [ options ... ]
gm composite [ options ... ] change-image base-image [ mask-image ] output-image
gm conjure [ options ] script.msl [ [ options ] script.msl ]
gm convert [ [ options ... ] [ input-file ... ] [ options ... ] ] output-file
gm display [ options ... ] file ... [ [options ... ]file ... ]
gm identify file [ file ... ]
gm import [ options ... ] file
gm mogrify [ options ... ] file ...
gm montage [ options ... ] file [ [ options ... ] file ... ] output-file
gm time subcommand
There is good command documentation at http://www.graphicsmagick.org/GraphicsMagick.html.
Package #4: RawTherapee
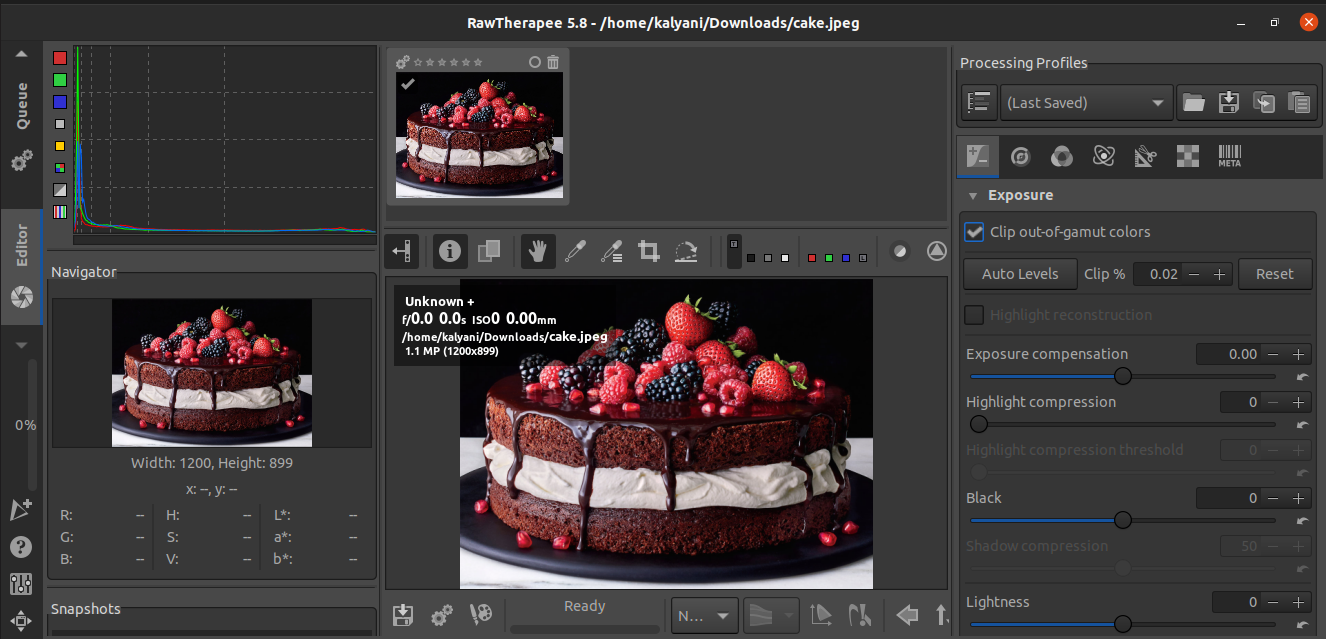
RawTherapee is a free and open-source platform for raw image processing. It’s available for Windows, MacOS, and Linux. Questions about RawTherapee are answered at http://rawpedia.rawtherapee.com/Main_Page.
In Ubuntu, RawTherapee is available in the repository:
To open RawTherapee, you simply type “rawtherapee” in the Ubuntu Launcher. From there, you can now edit your pictures as you wish.
Package #5: GIMP
GIMP is a free and open-source image editor that is available for Windows, MacOS, and Linux. This is not a command-line interface but rather a GUI. GIMP is a lot like Adobe Photoshop, with so many properties and design tools.
GIMP can be directly installed from the repository:
It is then available via the Ubuntu Launcher.
Package #6: Luminance HDR
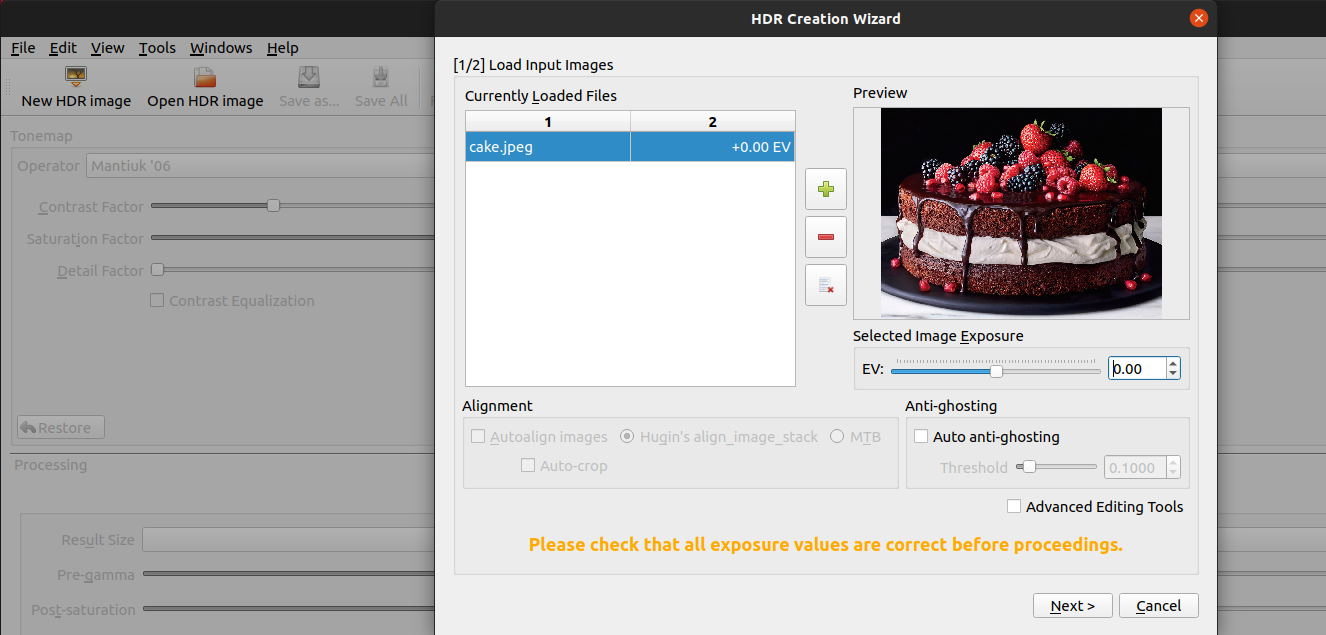
Luminance HDR is a free and open-source package that is used for image editing. It only supports 6 formats – JPEG, PNG, PPM, PBM, TIFF, FITS. There aren’t too many features like the remaining image processing tools; however, Luminance HDR can:
* save/load HDR files
* rotate/resize HDR files
* tonemap HDR images
* projective transformations
* transfer EXIF data between image sets
* supports internationalization
To install luminance HDR:
sudo apt-get update
sudo apt-get install luminance-hdr -y
Once installed, you will find the GUI in the Ubuntu Launcher.
On Ubuntu, there is little in the way of image editing software. In fact, there are only two programs that come pre-installed to tackle images and screenshots. This could leave some thinking that they might have to install Windows software like Adobe Photoshop. However, no worries, Ubuntu does have its own set of image editing packages! In this tutorial, we learned about the various tools available – Pixelitor, ImageMagick, GraphicsMagick, RawTherapee, GIMP and Luminance HDR – to edit images that are specifically for Linux. Some of these tools are CLIs, while others are GUIs; either way, they all excel at image processing.
Happy Coding!


