In general, when you close an SSH connection, the corresponding remote terminal sessions are also closed. Here comes the Tmux for help as it preserves those sessions when the SSH connection is terminated.
After installing Tmux, you will not find any icon associated with it. It will not appear as a separate application; instead, we will have to invoke it from the Gnome Terminal itself. We will later see how to do this.
Note: In this ‘HowTo’ we have used the ‘Ctrl+b’ as the prefix; if you configured some other prefix, then replace the command with yours’ prefix.
What will we cover?
This guide will explore how we can install Tmux and, more specifically “How to adjust Tmux pane size” . Let us first start with installing Tmux.
Prerequisites
1. Tmux should be installed on your system (Ubuntu in our case).
2. Internet connectivity and user account with ‘sudo’ privileges.
Installing Tmux on Ubuntu 20.04
Major operating systems like Linux, MacOS and Windows Subsystem for Linux (WSL) provide Tmux software packages from their official repository. So to install Tmux on Ubuntu 20.04, we can simply use the package manager or Software center as described below:
1. To install Tmux using package manager, simply run the command:
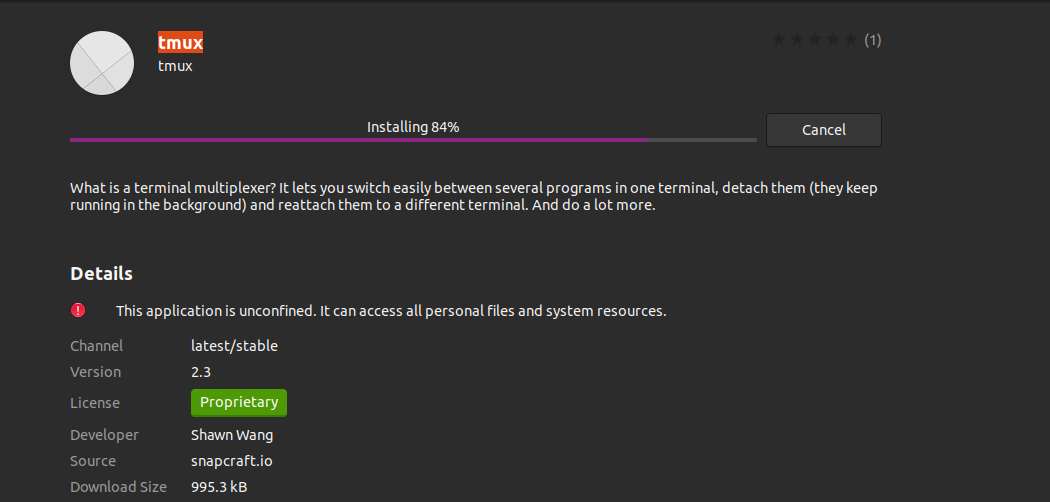
2. To install Tmux using the software center, open the software center, search for Tmux and click install.
Launching Tmux
Once the Tmux is installed, we will have to use the Gnome terminal to invoke it. One may encounter the following error when trying to run the ‘tmux’ command:
To overcome this error, type “export TERM=xterm” on the terminal and hit enter. Now again, run the ‘tmux’ command, and this time the error should not appear.
Another way is to use the ‘XTERM’ terminal and launch the Tmux from here. This worked on our Ubuntu 20.04 system.
Adjusting Tmux Pane Size
Having multiple panes in a single window is a great feature of Tmux. We can watch and monitor multiple applications at the same time. Having multiple panes greatly enhances workflow.
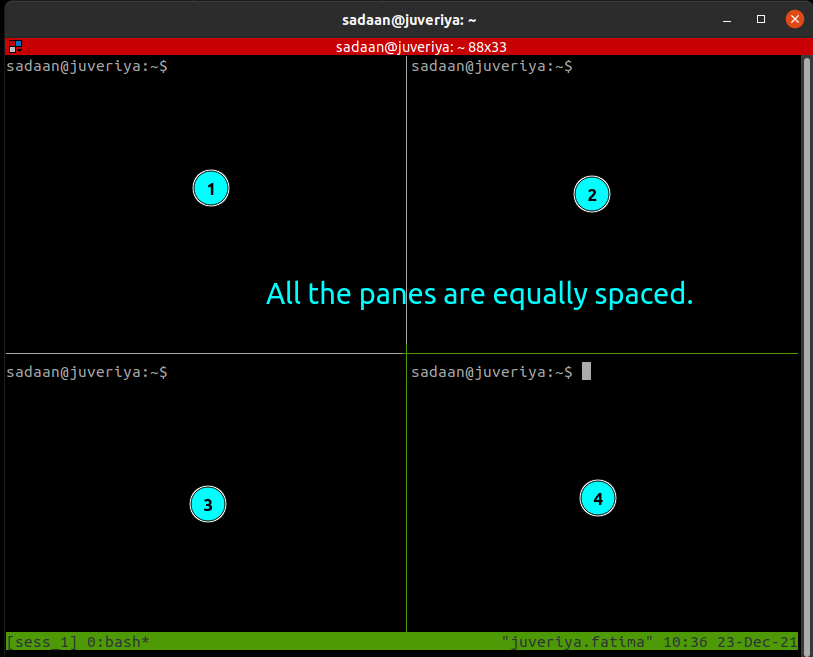
When creating the first split (horizontally or vertically) pane, tmux will divide the total window space between the two panes in the 1:1 ratio. When creating another split pane, Tmux subsequently divides the current pane in the 1:1 ratio.
But we often need more space for a pane (for e.g. while editing a text file) and less space for another one (e.g. while starting and stopping a service). In such a scenario, we need to adjust the pane size by shrinking a pane and expanding the other.
Thanks to the developers of Tmux who have put this facility in Tmux in very simplistic ways:
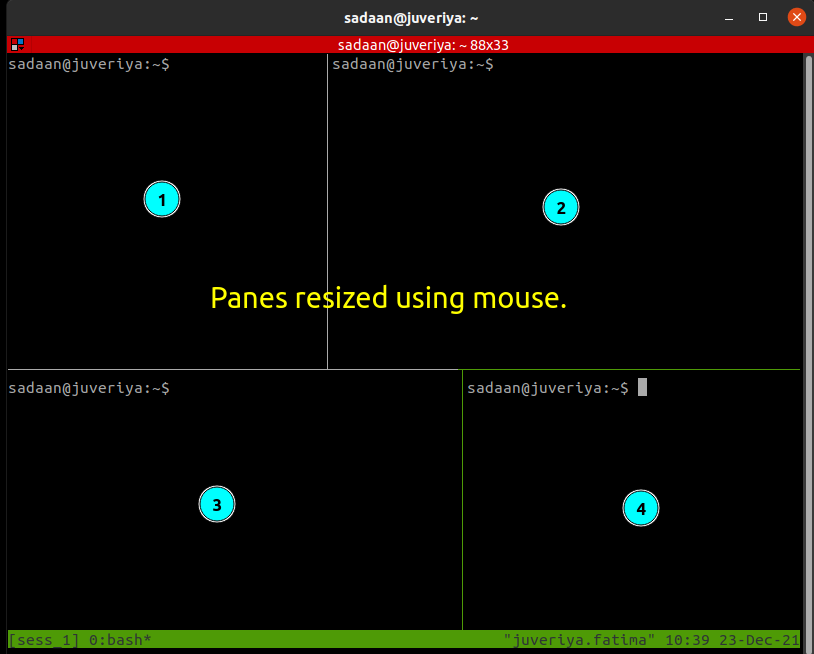
1. The easiest and most convenient way is to use the mouse mode. I usually prefer this method because it gives more granular control over the pane size. Open the ‘tmux.conf’ file and put the below line to activate the mouse mode:
Now reload the ‘tmux.conf’ file:
Note: Every time we change the ‘tmux.conf’ file, we need to source or reload the ‘tmux.conf’ file to make the changes work.
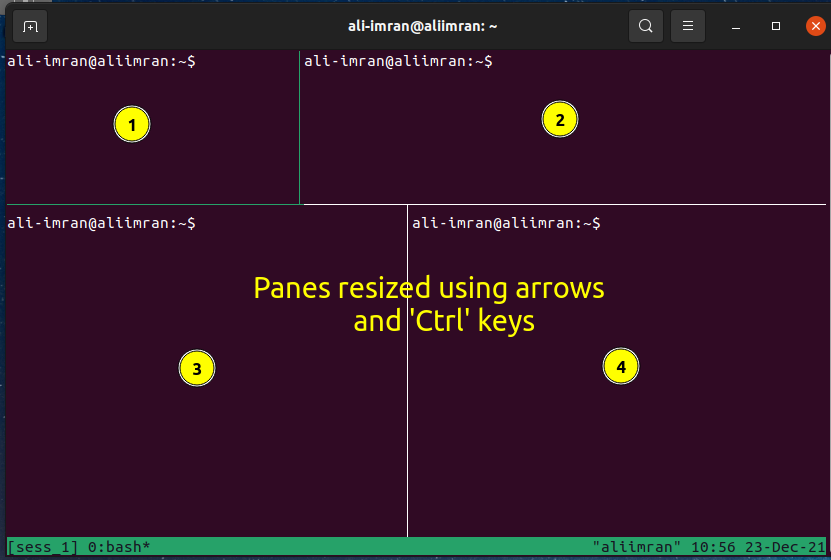
2. Another way is to press the ‘Prefix’ and while holding the ‘Ctrl’ key and then press the arrow keys.
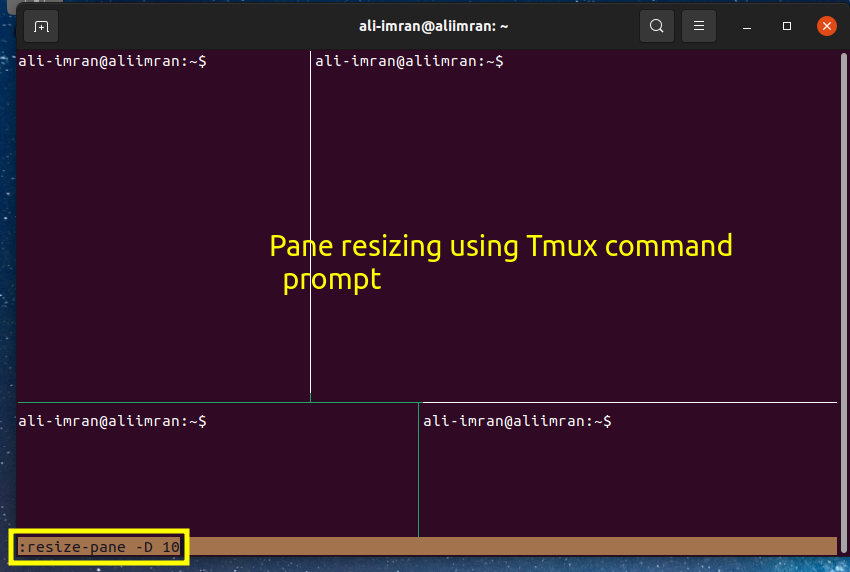
3. If you are command-line savvy, you can use the Tmux command prompt:
a) For Resizing the current pane downwards:
b) For Resizing the current pane upwards:
c) For Resizing the current pane towards the left:
d) For Resizing the current pane towards the right:
If you want to resize precisely, you can specify the number of rows to shift. For example, if you want to resize the pane downwards by 10 rows, then use:
Setting the Keybindings
Now let us set keybindings for making the resizing task a bit more simple. We will set the PREFIX +’h’ , PREFIX +’j’, PREFIX +’k’ , and PREFIX +’l’ for left, down, up and right movements, respectively. Also, we will set the default increment factor to ‘5’. Open your ‘tmux.conf’ file and put the following lines in it:
bind j resize-pane -D 5
bind k resize-pane -U 5
bind l resize-pane -R 5
One may think pressing PREFIX every time is very sluggish, but there is also a workaround for that. Use the ‘-r’ flag to bind the resizing key for continuously adjusting the pane size. In this way, we will have to press the PREFIX only once, and then the resizing key will resize the pane repeatedly within the repeat limit. Just modify the above keybindings in the ‘tmux.conf’ as:
bind -r j resize-pane -D 5
bind -r k resize-pane -U 5
bind -r l resize-pane -R 5
Conclusion
In this guide, we have learned about the installation of Tmux and, more specifically, “How to adjust Tmux pane size”. A more detailed explanation of various Tmux operations can be found on the Tmux Man pages or on the Github page of Tmux.

