
Without tempting you more about your problem, I’ll provide you the solution, which is, Data Recovery – the process of gaining access to the files that are not accessible due to deletion or some partition damage.
They are many data recovery software available in the market, however, and they all have their own pros and cons, but today, we are going to use Stellar Data Recovery

Stellar is by far one of the fastest, most effective data recovery software that we have used. Stellar is superior in its ease of use, the user guide that is available on its website is well-written and to the point. With Stellar, you get various options like – Raid recovery, Virtual Machine Hard Disk Recover, Image Disk Recover and more in one single application.
Downloading and Installing Stellar
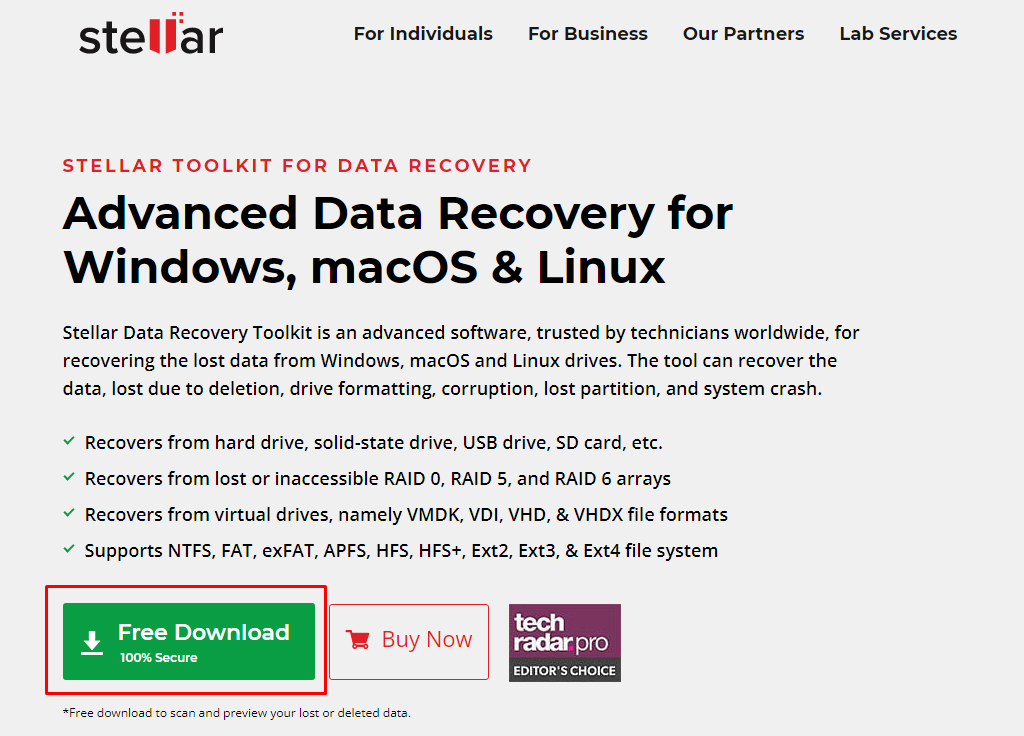
Download the Stellar from their official website. Click here to visit their website.
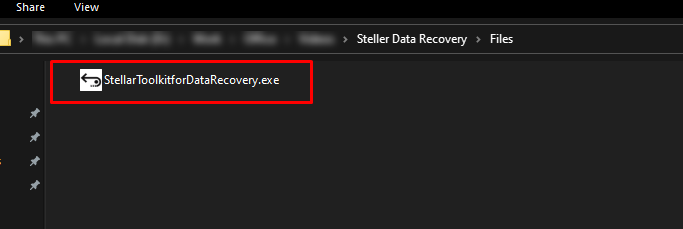
Once you have downloaded the installer in a folder, all you have to do is to navigate to that folder and run the installer.
The installation process is pretty self-explanatory. So just follow along with the guide and install the Stellar data recovery software.
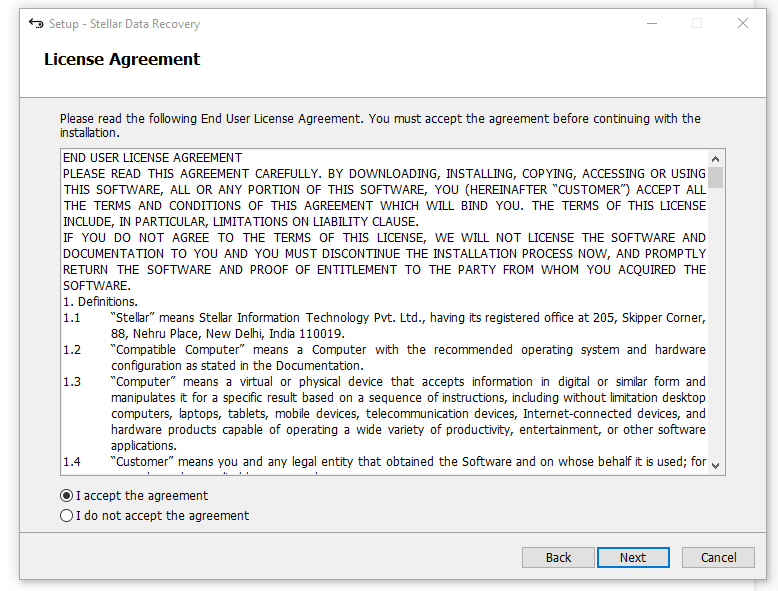
Then just click on” Next”. During installation, it will show a short demo video that will explain how this whole software works.

After that’s done, you can check “Launch Stellar Data Recovery” and click on the Finish button.
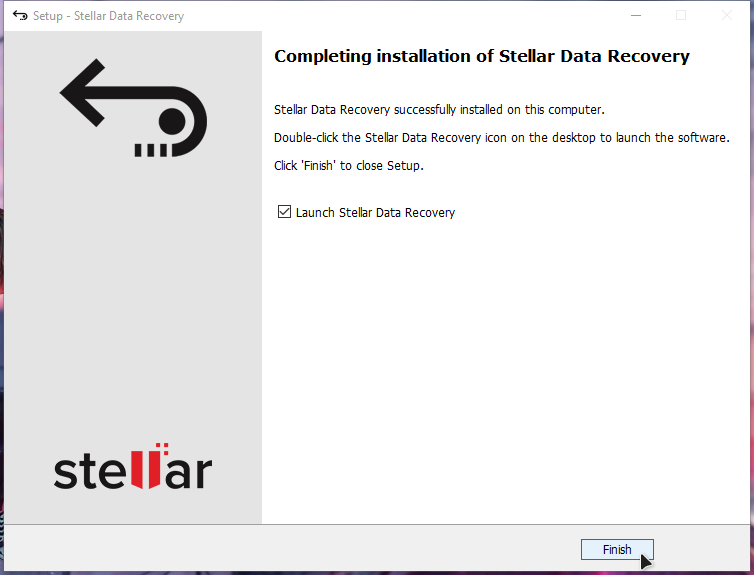
After that, it will open up a link in your default browser, which will again show you how to work around the Stellar data recovery.
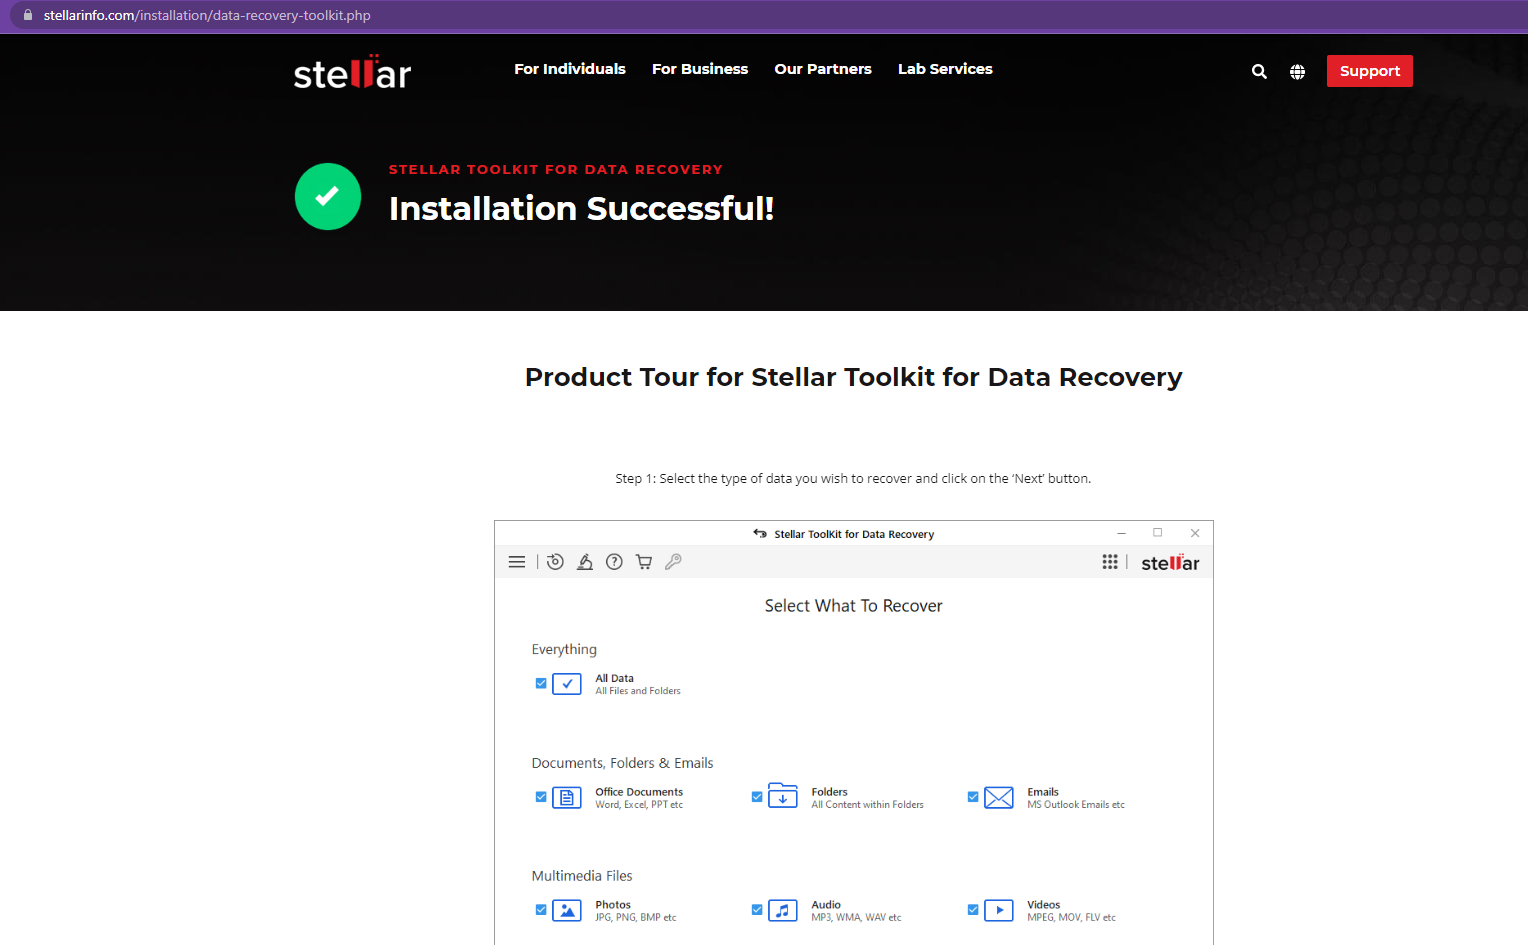
Working with Stellar Data Recovery
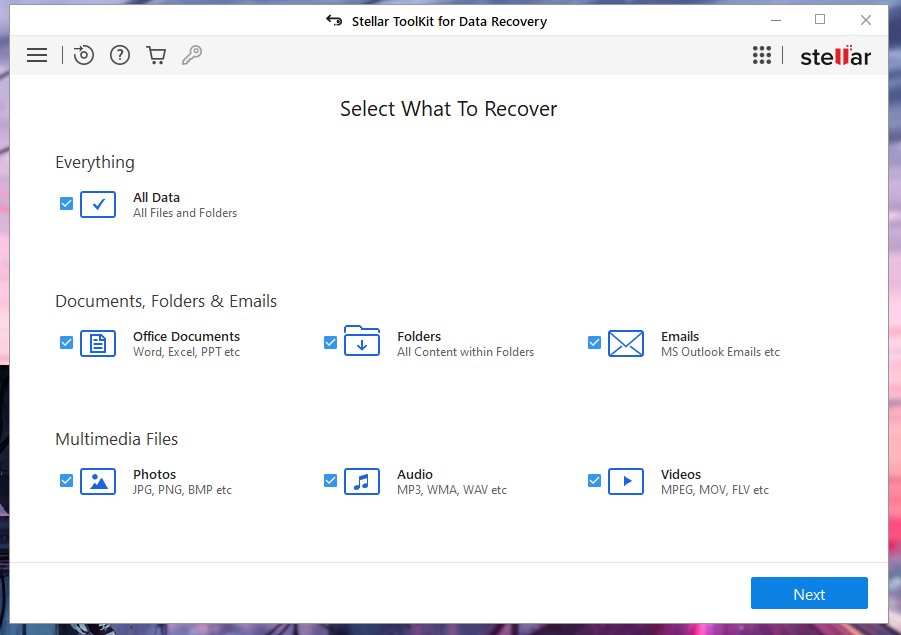
Well, straight off the bat, the software launches and shows a bunch of checkboxes. On this screen, the Stellar Data Recovery software is asking what type of file you want to recover. If you have lost some pictures, then the software would not waste time recovering videos or any other file type.
.
As you can clearly see, there are quite a lot of options here, and they are pretty self-explanatory, which makes Stellar Data Recovery easy-to-use.
So, let’s just say we want to search everything, so select this option that says: “All Data” just like shown in the above snippet. And then hit next. In the next screen you’ll see a similar list, showing the list of drives you have on your pc and other options to recover from Disk Image, Raid Recovery, and Virtual Machine Recovery. In our case, we are going to recover from a USB-Stick, so we’ll go and select that option:

Note: The “MAC Disk (macOS)” is the name of the USB-Drive, don’t let it confuse you.
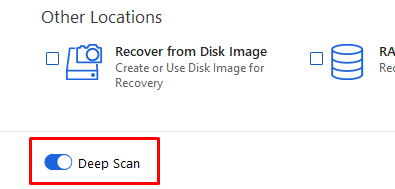
Before we start the scan, let’s talk about the little option at the bottom left-hand corner, which reads “Deep Scan”.
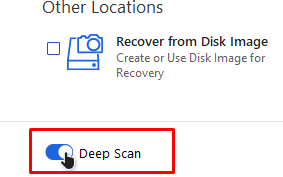
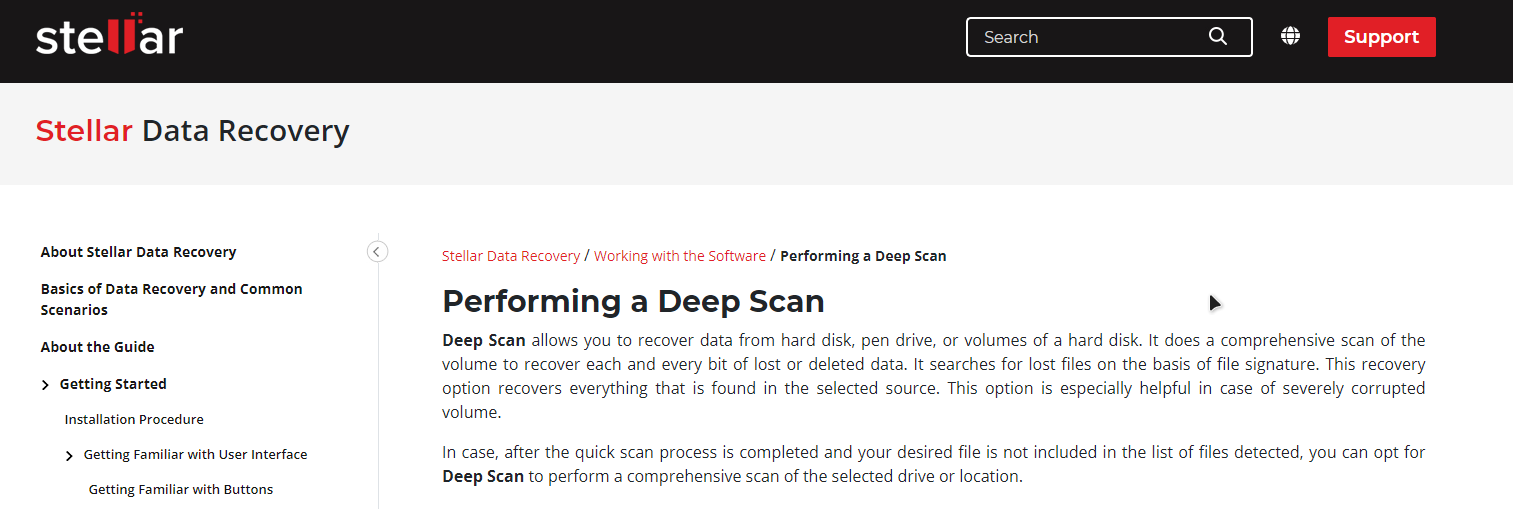
If we leave this option turned off and move on with the scanning process, then the Stellar Data Recovery will do a “Quick Scan” to find the deleted or damaged file. However, enabling the “Deep Scan” option will do a more thorough scan.
We are going to show a snippet of the official document about “Deep scan” from Stellar Data Recovery’s website to encourage you to go to their website and read the official guidelines in case of any query.
So, in our case, let’s turn on the deep scan option because I really want to find the video that I deleted.
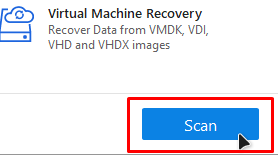
We are all set, now what we have to do is simply press the big scan button at the bottom right-hand corner, to begin the summoning of your lost files.
Right after pressing the scan button, it’ll take you to another screen, where you’ll see the process of “Searching for unused blocks”, “Searching of clusters” and a lot of other useful information to keep the user up to date with the current process.
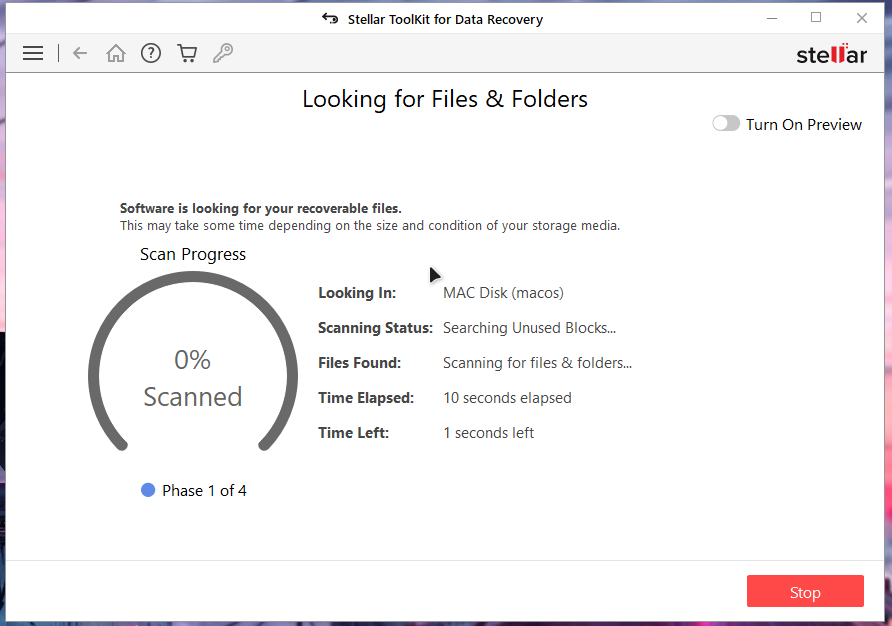
There is one option in particular that we would like to shine the light on, and that is the “Turn on Previews” option, in the top right-hand corner. Turning this option on will start a preview of the files that are found in the drive that you are scratching.
Note: Not every file is preview able. To see a list of all the supported preview able files, you can go to the official docs of Stellar Data Recovery or click here.
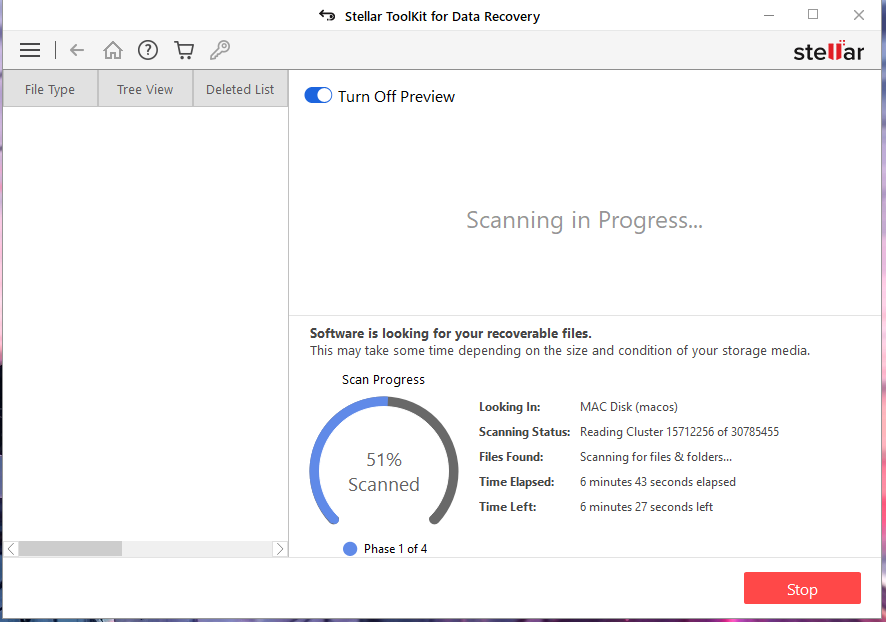
Now, all you have to do is to wait until the Stellar Data Recovery toolkit finishes its job and shows you a list of all the recoverable files.
Recovery
Once the Stellar Finishes the scanning process, it’ll prompt a new pop-up screen, which will show you the details about the searched file, it will contain information about files found, folders, and amount of data that is recoverable:
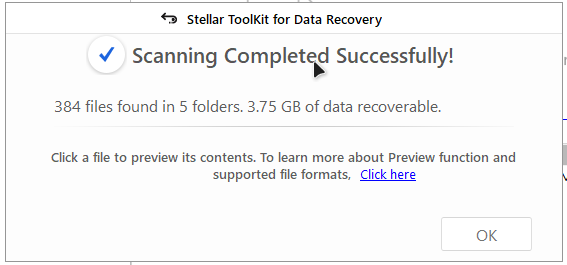
Click “OK”, and it will show you an explorer on the left-hand side, with all the folders that it was able to recover. And in the middle screen, it will show all the content within those folders as:
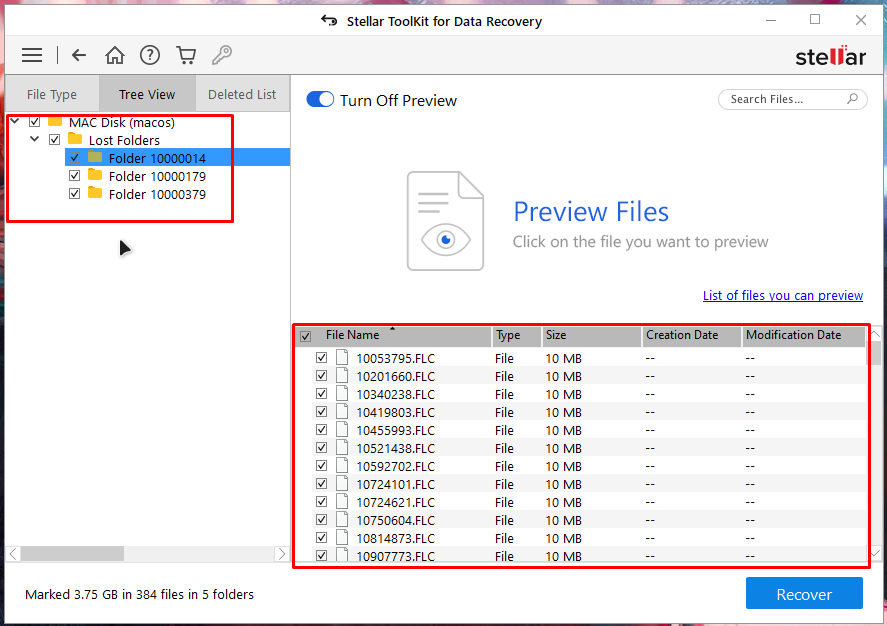
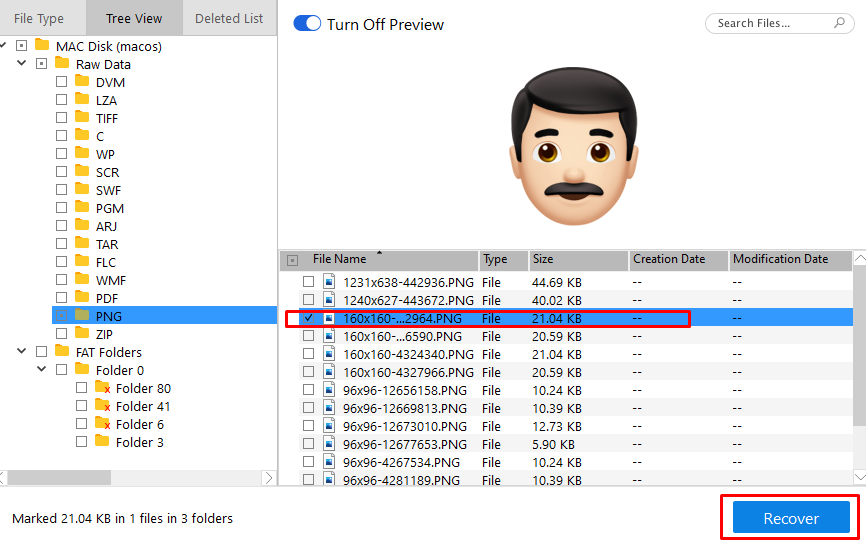
Now go through the list and check out the file that you want to recover. Once you have selected the files, click on the “Recover” button from the bottom right-hand corner:
It will ask you to have a serial key, I already have mine, so I’ll place that in and hit next.
After that, it will prompt you with a pop-up screen to ask you where do you want to put those recovered files.
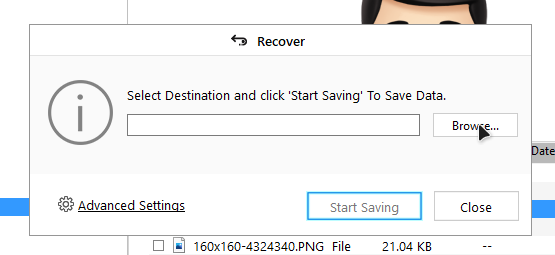
Note: The destination of the recovered files cannot be the same as the drive from which you are scanning:
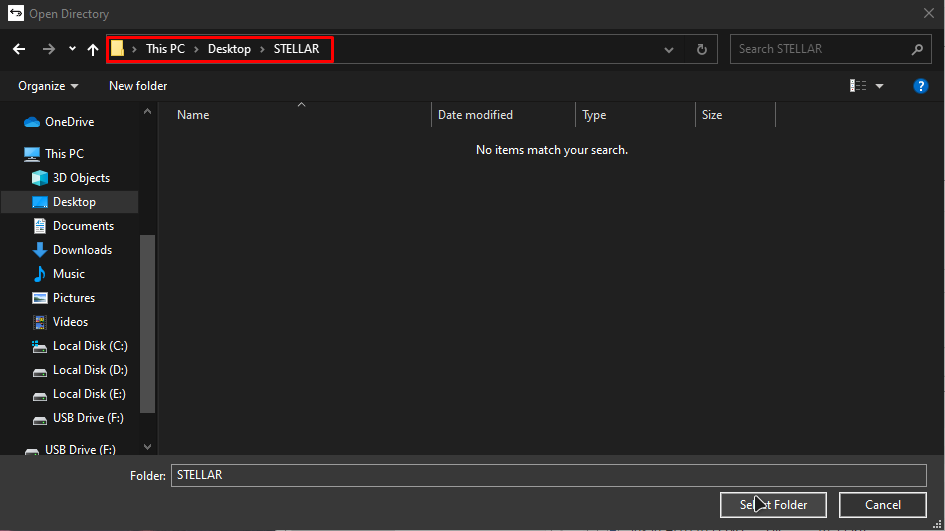
Select the destination that you want where you want to store the recovered data:
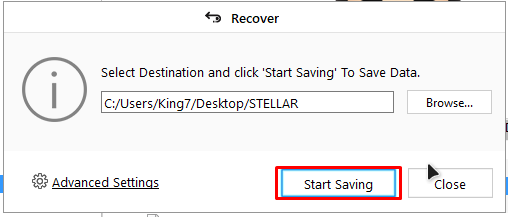
And click on the “Start Saving” button.
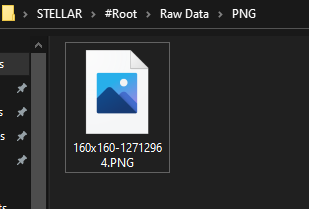
Once it finishes, go to the folder that you selected, and you will see the recovered files in it:
Open it up to make sure that the recovered file works:
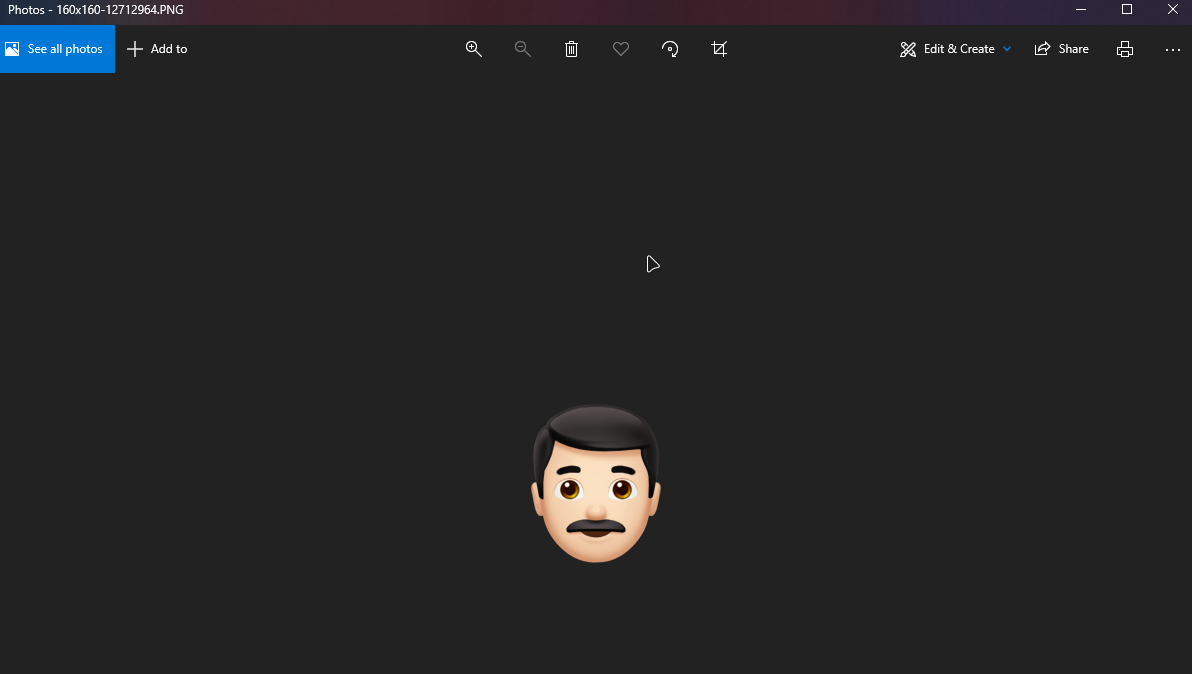
And there you have it; we have successfully recovered the files that were deleted from our pc using Stellar Data Recovery. Now, you can use the same process to recover different types of data, for instance: video files, documents, gifs, and more.
Conclusion
Data Recovery can be daunting if you don’t have the adequate tools to do it, and sometimes even with the right tools, the complex factor of those tools overwhelms anyone. Therefore, the process of getting back the lost data can see nothing, but magic done by performing various rituals.
Stellar Data Recovery toolkit comes to the rescue in such cases, reducing out the “complexity-factor” by bringing an impressive, clean, and easy-to-use User interface, self-explanatory options, and an extensive and well-written user guide on their website. And to put the cherry on top, the Stellar Data Recovery works wonders in terms of its results.