Installing Wireguard on Debian based systems:
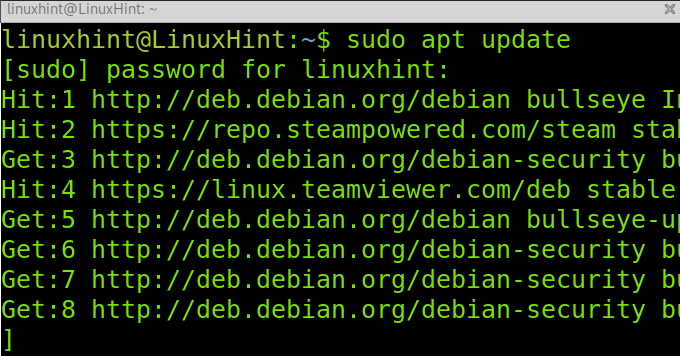
Before installing Wireguard, update your package repositories by executing the following command.
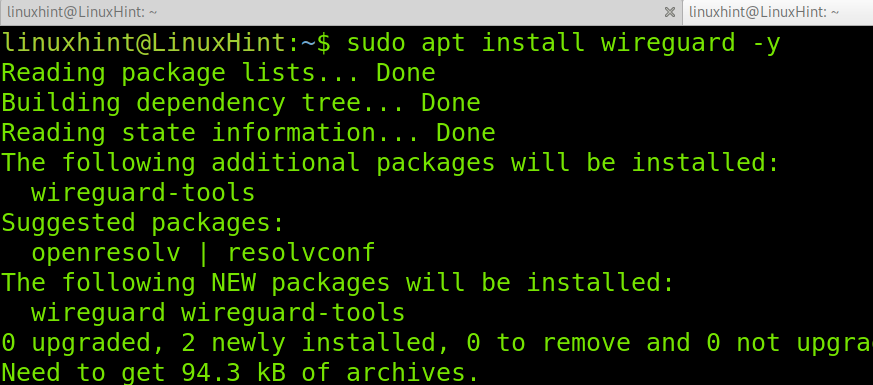
Then, install Wireguard using apt as shown below.
Wireguard is already installed; now, let’s continue with the server and clients configuration.
Setup a Wireguard server:
Before getting started with Wireguard’s configuration, you need to open the (UDP) port used by Wireguard. In this tutorial, I chose to use port 51871; you can select a different free port.
To open the port using UFW, run the following command.
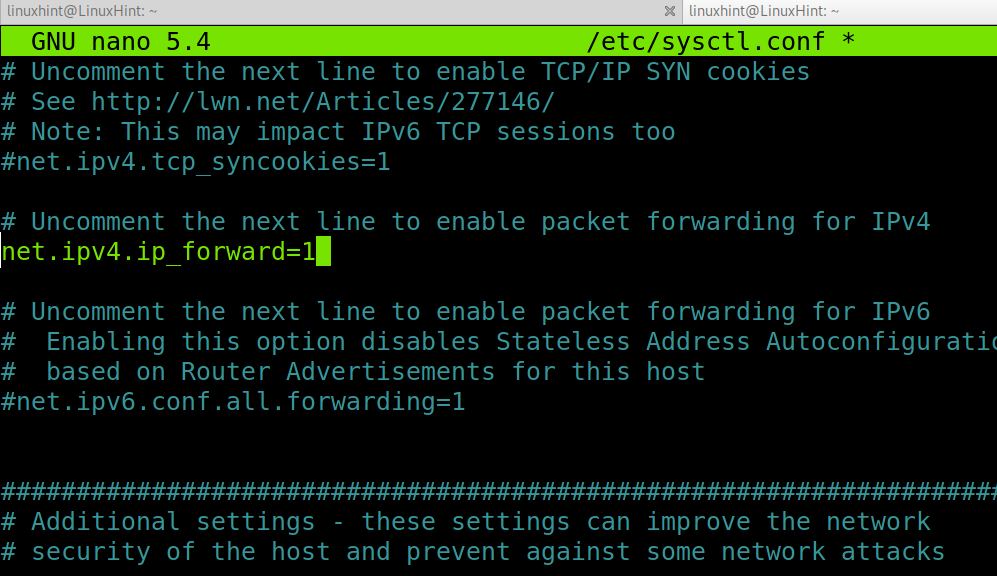
Now, edit the file /etc/sysctl.conf using nano or any other text editor as shown below.
Find and uncomment the following line to enable IP forwarding.
Once uncommented, exit the text editor saving changes. Then, run the following command to apply changes.
Adding an interface for Wireguard:
You can add a network interface for module loading by running the following command. If you prefer, you can use the ifconfig command to add the interface.
Now assign an IP address to the interface you created in the previous step by executing the command shown below.
The wg0 interface is now ready for Wireguard.
Generating Wireguard private and public key for authentication (Server):
Run the command below to restrict permissions to others on files and directories you own.
Under the directory /etc/wireguard, generate a private key by running the following command. The private key name is arbitrary; in the example below, I named it privatekeywireguard, but you can choose any name.
After creating the private key, use it to generate a public key by running the command shown in the screenshot below.
Now your server private and public keys are generated. You can read the private and public keys values by running the following command. You’ll need to see your private and public keys to add them to the Wireguard configuration files in the following steps.
or
Now, let’s continue with a client configuration before finishing with the server.
Configuring the Wireguard client:
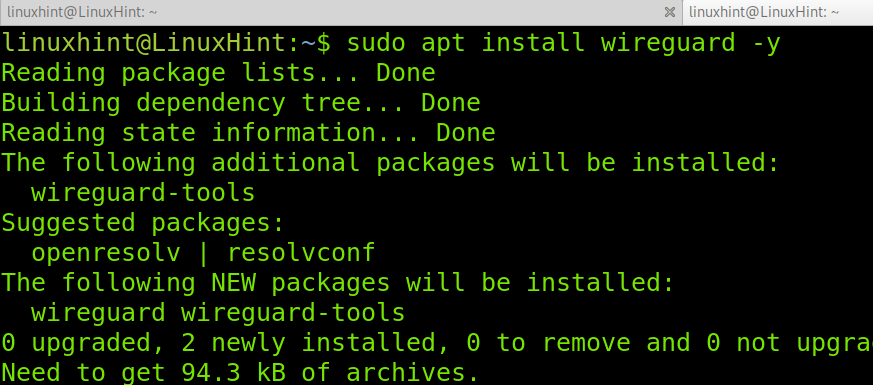
First, install Wireguard on the client by running the apt command again.
Repeat the previous steps to generate a private and a public key on each client you want to be allowed through the VPN. You’ll need to add the client’s public key to the server configuration file later.
Then run:
wg pubkey < privatekeywireguard > publickeywireguard
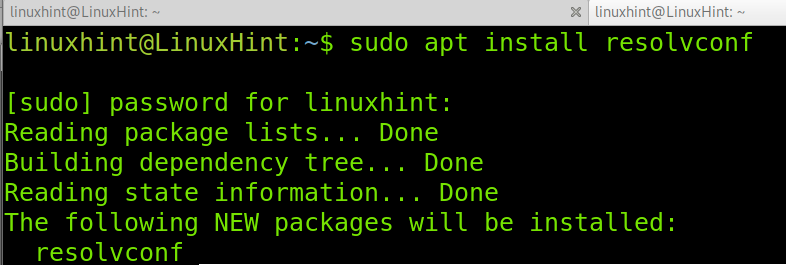
Then install the resolvconf package using apt.
Note: After installing resolvconf, the /etc/resolv.conf file may be overwritten.
On the client, create the file /etc/wireguard/wg0.conf as shown below.
Copy the following content, replace the private key with the one you generated in your client, and replace the PublicKey with the one generated on the server.
PrivateKey = WGjYaewoWuuA3MR2sRHngSkKwO3fB3LOijR246hynGA=
# Server info
[Peer]
PublicKey = 2gZLljSl5o4qYEh7hO1vfWKNsRvvfcYwt3c11HdB+D4=
AllowedIPs = 0.0.0.0/0
Run the command below.
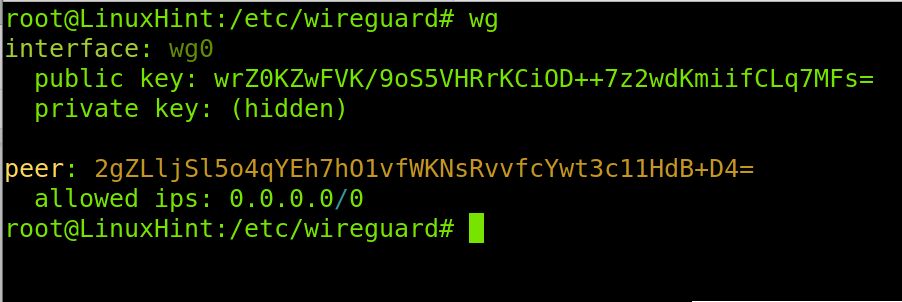
And you can run the wg command to see the client’s configuration:
Finishing the Wireguard server configuration:
Now on the server, also under the /etc/wireguard directory, create a file that will contain the Wireguard server configuration. You can use nano, as shown in the example below.
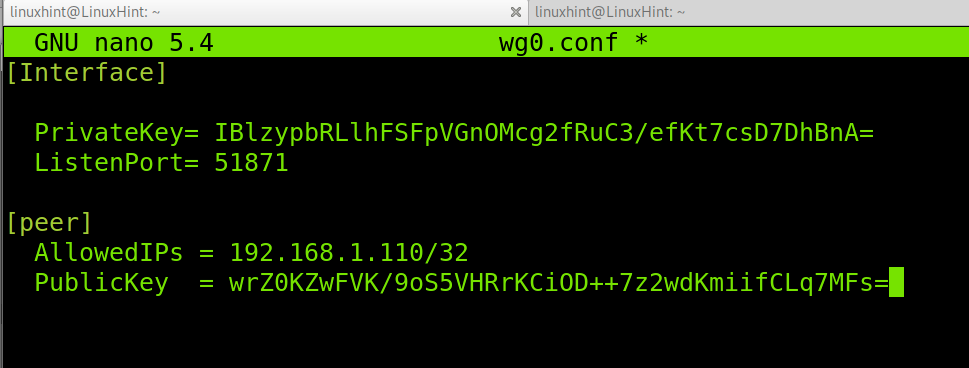
Within the configuration file, paste the following code. In the [Interface] section, replace the private key with the one you generated for the server in the previous steps of this tutorial. Also, replace the port in case you defined a different one for Wireguard when creating the UFW rule.
In the [peer] section, define the client IP address and paste the Public key you generated on the client.
PrivateKey= IBlzypbRLlhFSFpVGnOMcg2fRuC3/efKt7csD7DhBnA=
ListenPort= 51871
[peer]
AllowedIPs = 192.168.1.110/32
PublicKey = wrZ0KZwFVK/9oS5VHRrKCiOD++7z2wdKmiifCLq7MFs=
Set the configuration file for the Wireguard interface by running the following command.
Save and exit the configuration file by pressing Ctrl+X. Then enable Wireguard by running the command below.
You can check the Wireguard interface by executing the following command.
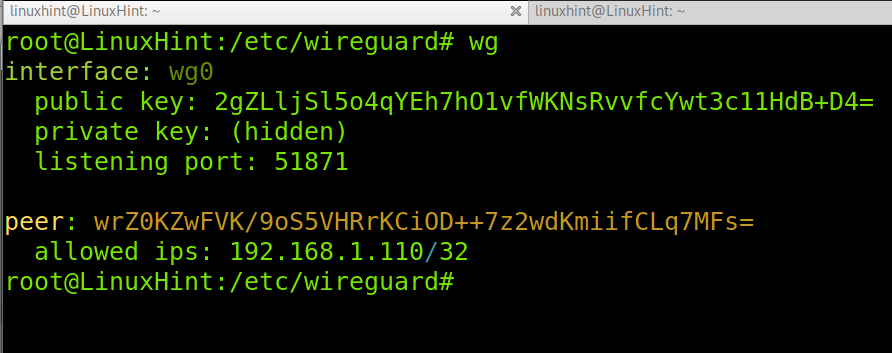
And you can check the configuration by running the command below.
Now both your server and client are ready for VPN.
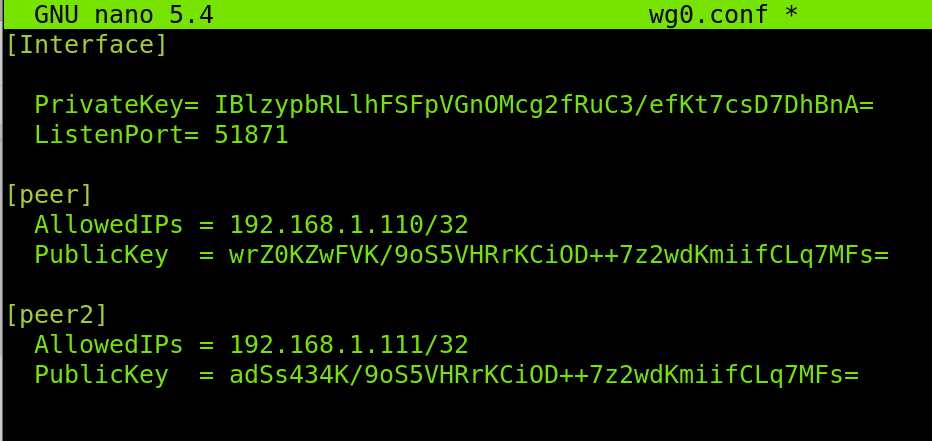
You can add additional clients by repeating the steps on each client and by adding the client PublicKey and allowed IP addresses on the server configuration file, with the format shown in the screenshot below.
Conclusion:
As you can see, setting up a Wireguard server on Linux is pretty simple. Any Linux-level user can achieve it by following a few steps described in this tutorial. Users must make sure they have privileged access both to the server and clients to configure both sides. Remember, after installing the resolvconf package, you may lose your DNS resolution capability after resetting the resolv.conf file. Also, keep in mind the UDP port must be listening on the server; you can achieve it using UFW, as shown in this tutorial, or iptables.
Thank you for reading this tutorial explaining how to do Wireguard server setup. I hope it was useful. Keep following us for additional Linux tips and tutorials.

