An ISO file or ISO image is an archive file and an identical copy of DVD/CD having the same data on it. ISO file is used to distribute immense file sets over the internet or back up optical discs that are planned to be built on an optical disc. Most of the Operating systems that are present today come in the ISO format which has all the required installation files. ISO file/image format is the ideal candidate to represent all our operating systems files and folders and this is the file that gets executed.
We can backup/archive our files into an ISO file and then make it act like an external drive or bootable USBs or even CD/DVD which we can use for installation, sharing it with someone, or just save as a backup.
Mkisofs is a command in Linux/Ubuntu that makes an ISO file from a folder that can be used to be written on CD-ROM devices where the cdrecord utility will burn the disk and then the mkisofs command will prepare the files to actually burn on the medium. To put it simply, mkisofs just creates an iso file which is the image file of the optical disk. To look at it in a little more detail then it takes a snapshot of the directory/file tree after which it produces a binary image that correlates with the ISO file.
Installing mkisofs
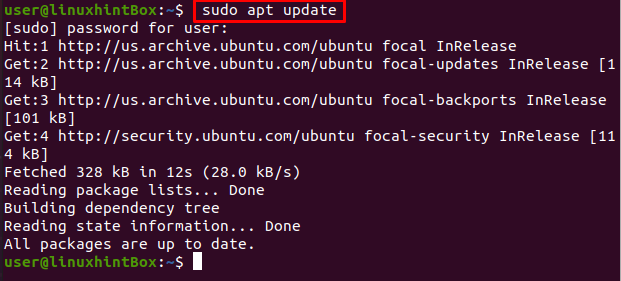
The first step in installing mkisofs is to first update all the packages of your Ubuntu system by executing the following command in your Ubuntu terminal:
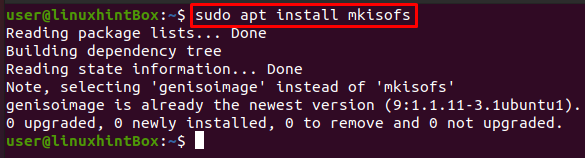
The next step is to install the mkisofs on our Ubuntu 20.04 however you can install it on almost any Linux distribution with the below command:
The above command will install all the required dependencies of genisoimage which can be seen in the below output:
Using mkisofs utility
Let us first view the command of mkisofs which will create an ISO that can be used to back up another ISO file which we can then use to modify or edit later:
The -o option is defining the ISO file name that we want to create and then the path of the directory of the ISO file that we want a backup for. Let’s implement the above command with a real example of creating an ISO file from the /boot directory and afterward saving it to the file bootiso.iso which will be achieved with the command shown below:
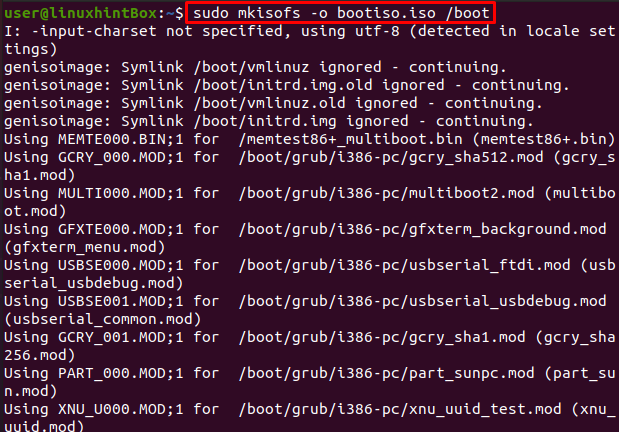
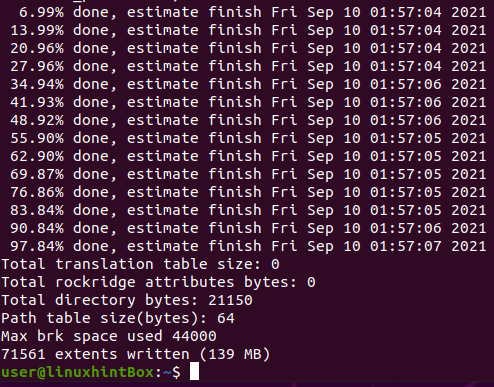
We have successfully created the bootiso file and saved it to the current directory as shown above.
List Iso file Content
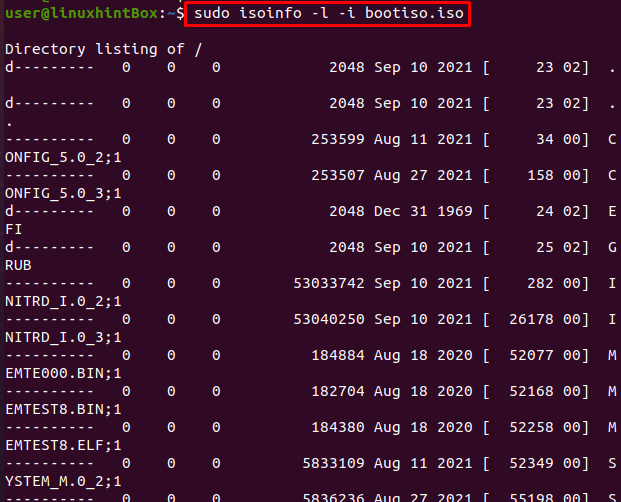
We can use the isoinfo command to list the content of the ISO file:
Mount ISO File
This step involves mounting the ISO file to a directory for which we will first make a directory with the following command:

Next, we will mount the boot.iso file to testiso with the use of the following command:

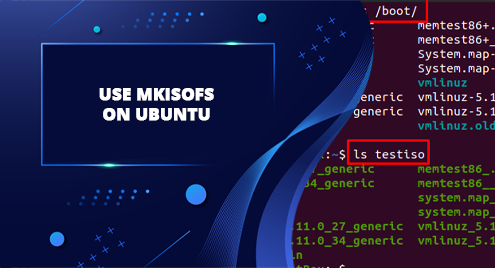
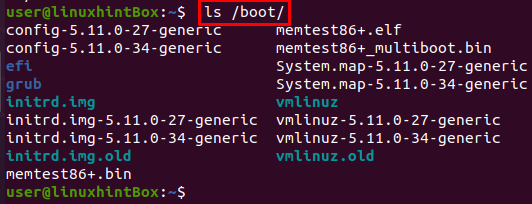
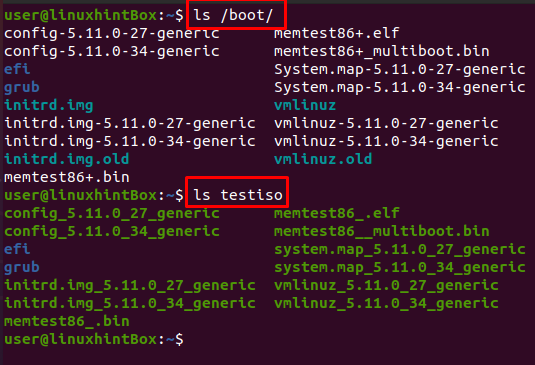
We can view the original content of the /boot directory with the ls in the following manner:
In the same manner, we can view the file names mapped to the looped/ directory as follows:

You can see that the testiso directory and /boot/ contents are different in the sense that the uppercase letters are in lowercase and not all the files are available as well as the file’s names are shorter. We can use some options that will help us in solving this problem:
-L option will allow the dotfiles
-l option will allow full filenames with up to 31 characters
-allow-lowercase option will allow lowercase characters to appear in filenames
-input-charset option will specify a character set.
-allow-multidot option will allow multiple dots in a filename.
Let us now use the above options in mounting the iso file. All the steps taken are the same as above just the following command will be different because of the additional options:
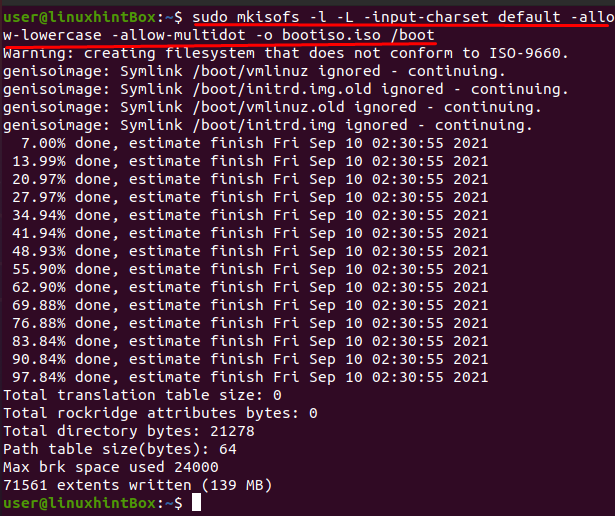

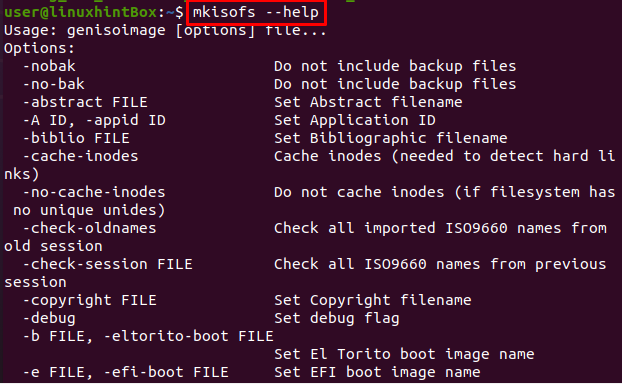
In the above screenshot, it can be seen that all the files are now available and with the same name in testiso directory. We can also use the mkisofs –help option in the Ubuntu terminal to find the list of all the available options we can use:
Conclusion
The ISO file is a single file that is a perfect representation of an entire Cd or DVD as the entire data of the disc can be duplicated in an ISO file. ISO files/images are utilized to distribute immense programs over the internet. Most of the Os these days comes with the ISO format as all the necessary installation files and folders of our operating system can be put in one single file. The mkisofs command is used to create an ISO file that we can edit, modify or create based on your requirements.
In this article, we first installed mkisofs and then used them to create and mount an ISO file. We also provided you with simple steps on how to use mkisofs on Ubuntu.