Wings 3D
Wings 3D is a free 3D modelling program developed by Dan Gudmundsson and Bjorn Gustavsson in 2001. Between 2006 and 2012, Richard Jones took control over Wings 3D and added many new features. Currently, Dan is actively maintaining Wings 3D.
Wings 3D includes a customizable interface, AutoUV mapping capability, support for materials and light, and various other modeling tools. It is developed for 3D modeling and texturing elements made up of a minimal number of polygons. Compared to other 3D programs like Blender, there are some distinctions, particularly in the GUI of the Wings 3D, which offers more flexibility in exchange for some constraints.
How to install Wings 3D on Ubuntu
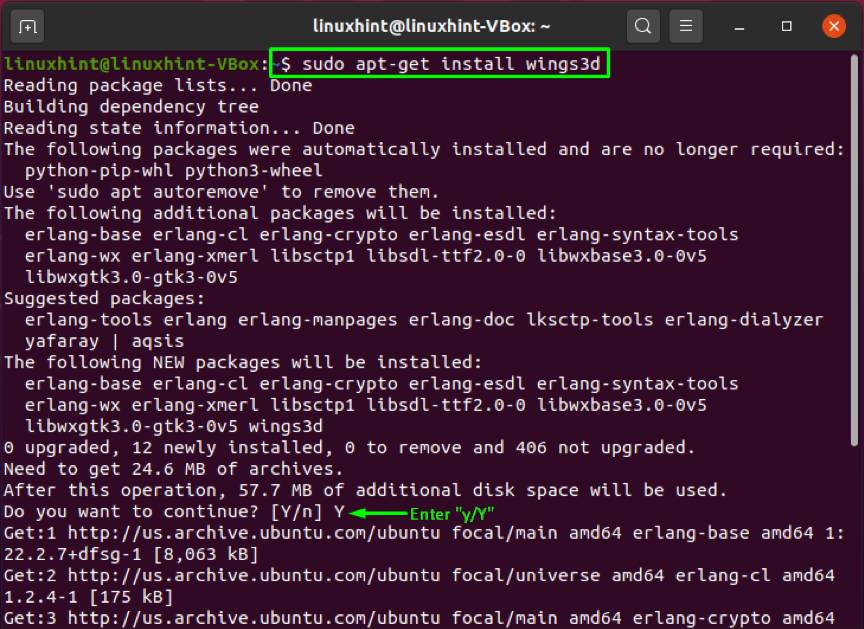
Utilize the below-given command for installing Wings 3D on your Ubuntu system:
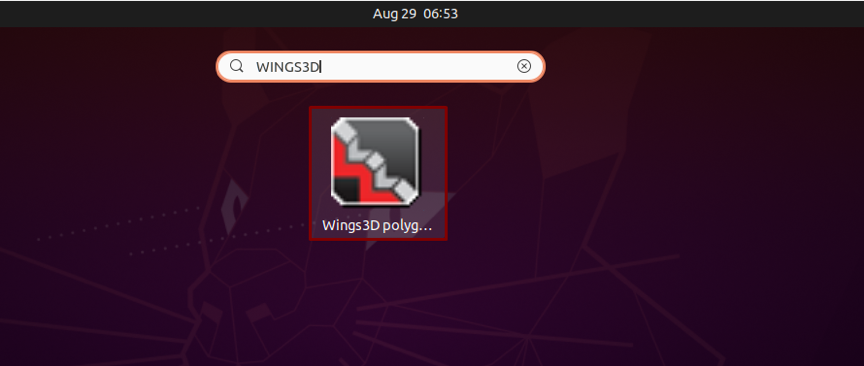
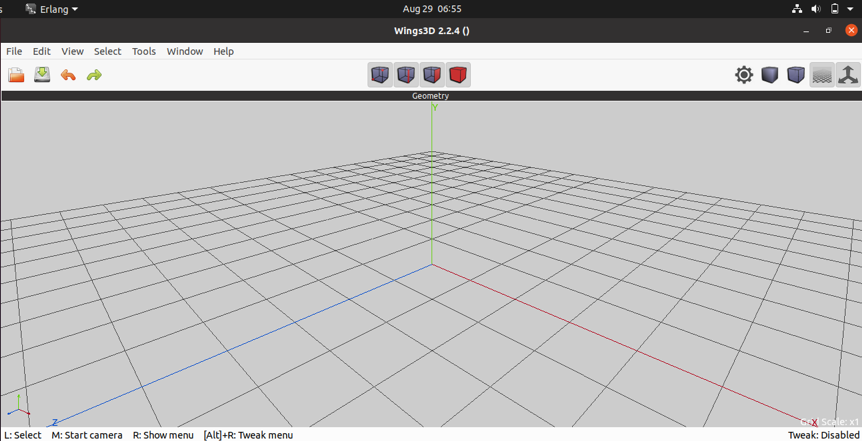
The error-free output indicates that now Wings 3D is installed on your system. Open this 3D printing software by searching it manually in the Application’s search bar:
FreeCAD
FreeCAD is a freely available, open-source parametric 3D modeler. It was intended for the creation and design of real-world objects. You can check your model history and adjust its characteristics, as parametric modeling permits you to modify your design.
This application enabled you to create geometry-constrained 2D shapes and utilized them for building a base of some other 3D object. It includes numerous components for extracting design details and adjusting measurements from 3D models for producing high-quality production-ready 3D drawings. FreeCAD supports various file formats, including IFC, IGES, STL, DXF, SVG, OBJ, DAE, STEP, etc., allowing you to integrate it easily into your workflow. Applications in mechanical engineering, product design, and architecture utilize this software according to their requirements. You can work in FreeCAD, whether you are an experienced CAD user, a student, a programmer, or a teacher.
How to install FreeCAD on Ubuntu
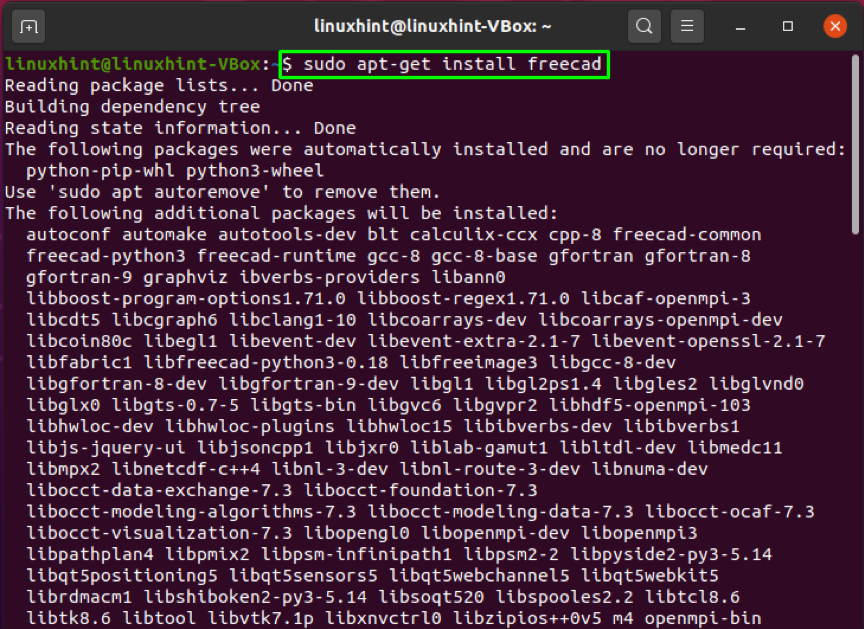
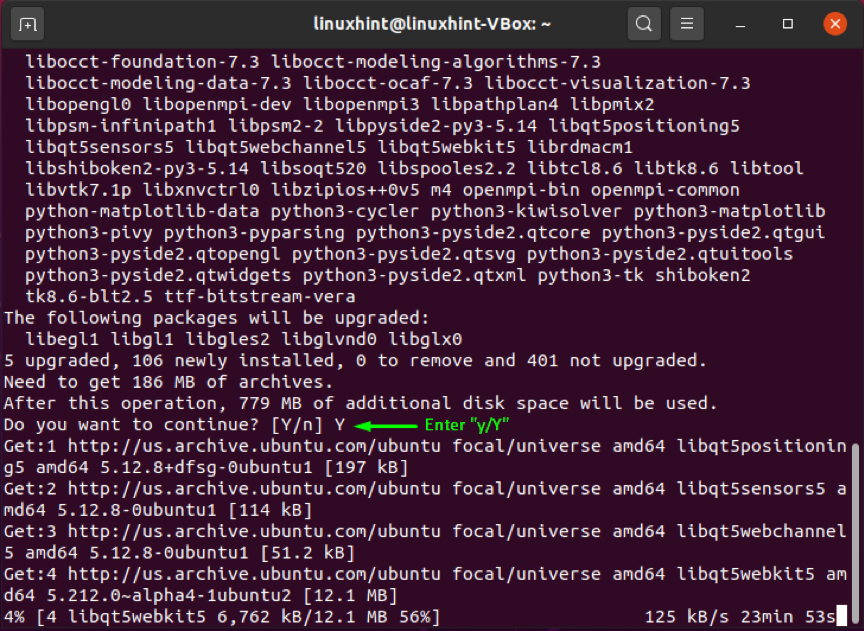
Before getting started with FreeCAD, you have to install it on your system. To do so, write out the below-given command in your Ubuntu terminal:
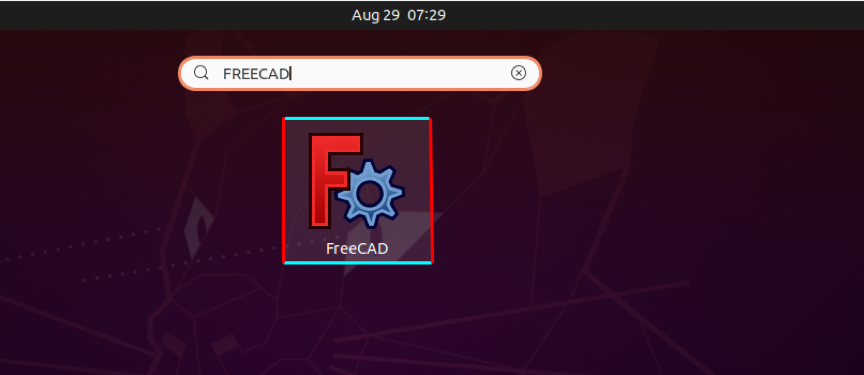
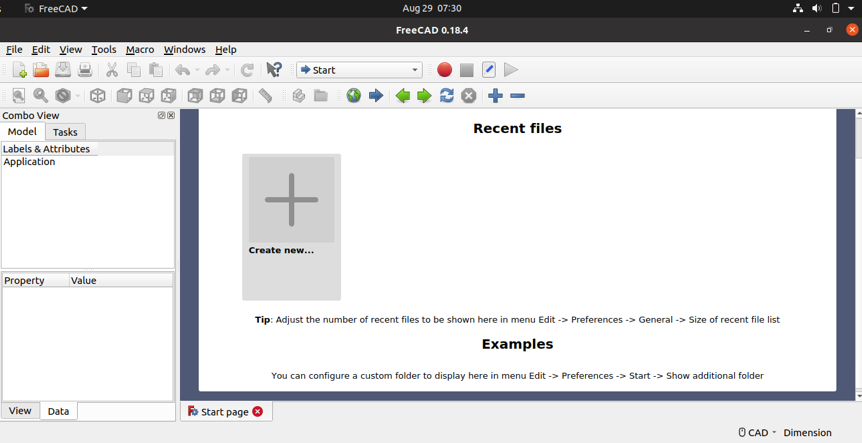
The error-free output signifies that FreeCAD is installed on your system. Open up the FreeCAD software by searching it manually in the Application’s search bar:
OpenSCAD
OpenSCAD is a freely available, script-only 3D modeling package aimed at assisting engineers in creating solid 3D CAD models. It is dependable software for engineers on a budget who need a cost-effective solution with powerful CAD tools. This application is designed with engineers in mind, not artists; it concentrates on the CAD parts of 3D modeling rather than the various other features of 3D modeling. OpenSCAD 3D modeling is based on 3D methodologies: CSG which stands for Constructive Solid Geometry and 2D outlines extrusion.
This 3D compiler helps in the 3D models rendering and reading objects scripts. OpenSCAD application is more like a 3D compiler developed to read object-specific script files and render 3D models from them. It hands over complete access to your modeling process and allows users to change individual processes as required. You can quickly create well-defined designs with the OpenSCAD adjustable parameters.
How to install OpenSCAD on Ubuntu
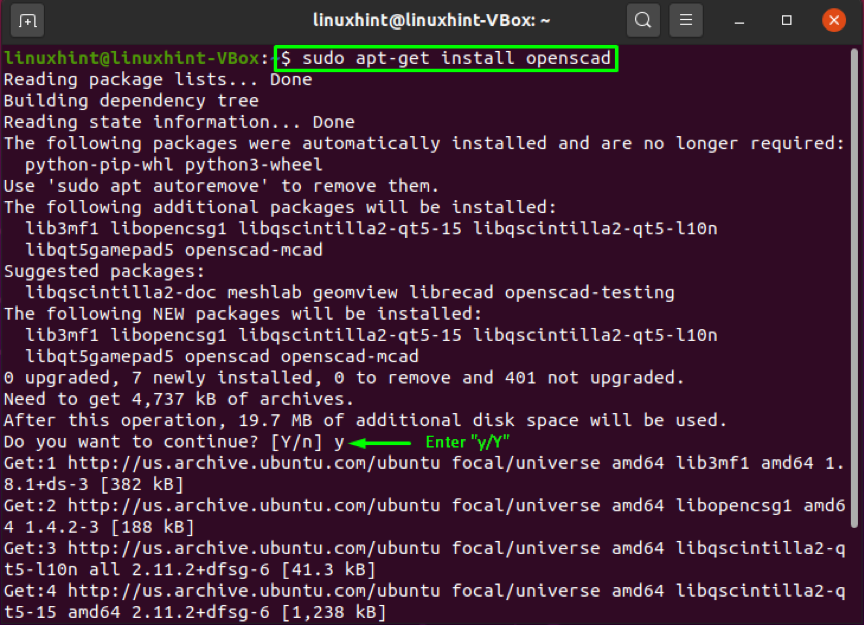
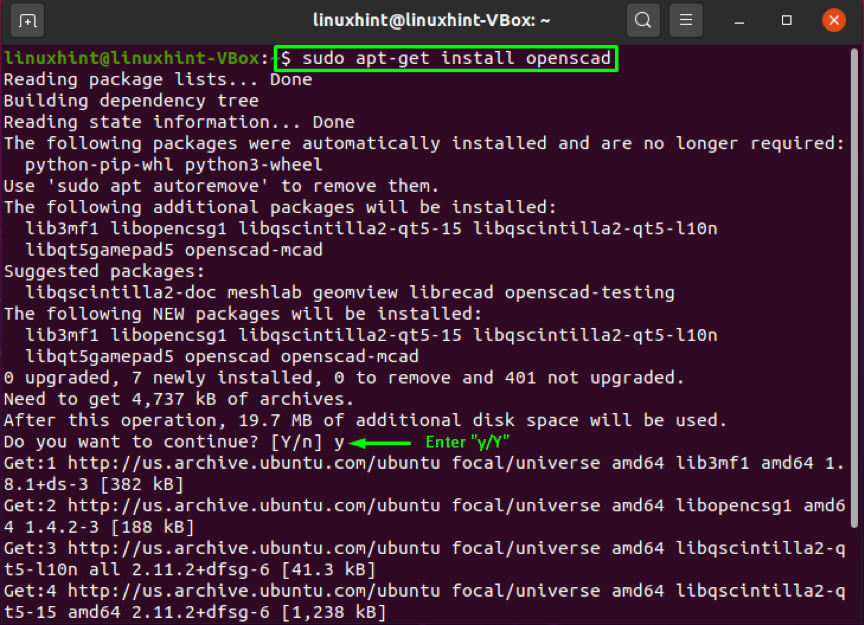
Utilize the below-given to install the OpenSCAD application on your Ubuntu system:
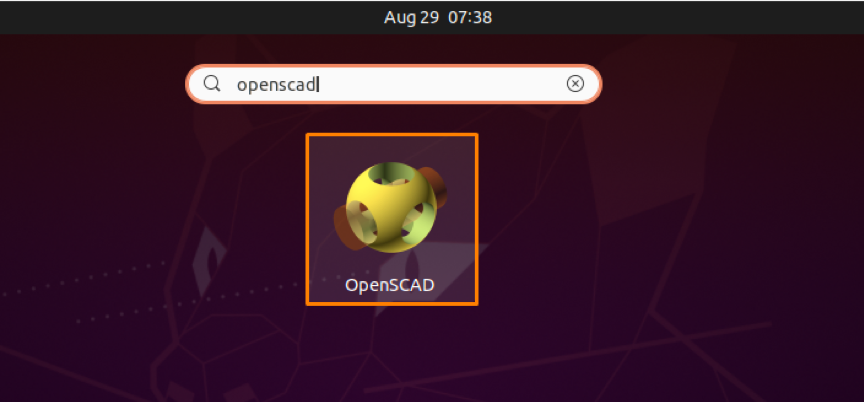
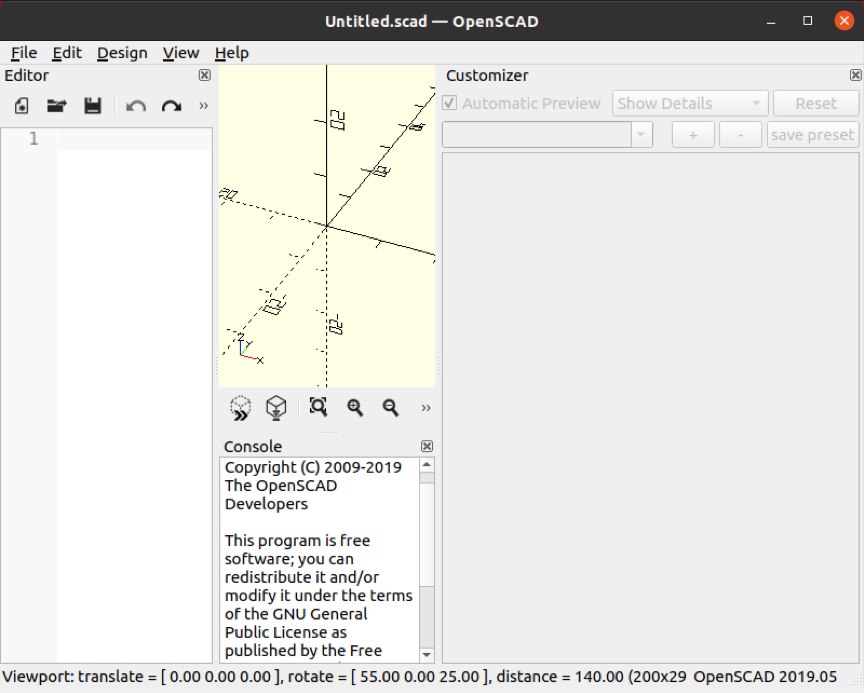
The error-free output declares that OpenSCAD is installed on your system. Open up the OpenSCAD software by searching it manually in the Application’s search bar:
Cura
Ultimaker’s Cura is a simple but powerful 3D slicing program. For Ultimaker 3D printers, the print profiles are optimized; however, the Cura will slice 3D files for any model or brand of 3D printer. The software supports the 3D file formats OBJ, STL, and 3MF and importing and converting 2D photos to 3D extruded models. You will be able to open and arrange several models on the print bed using the Cura application, where each model will have the required slicing settings. This allows Cura users to print numerous models at once, making the printing process easily manageable in the classroom.
How to install Cura on Ubuntu
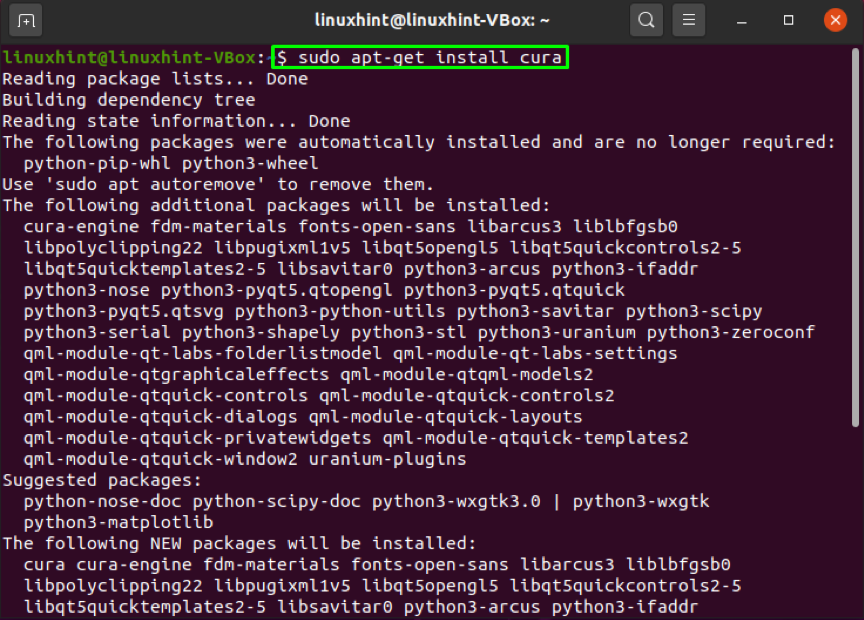
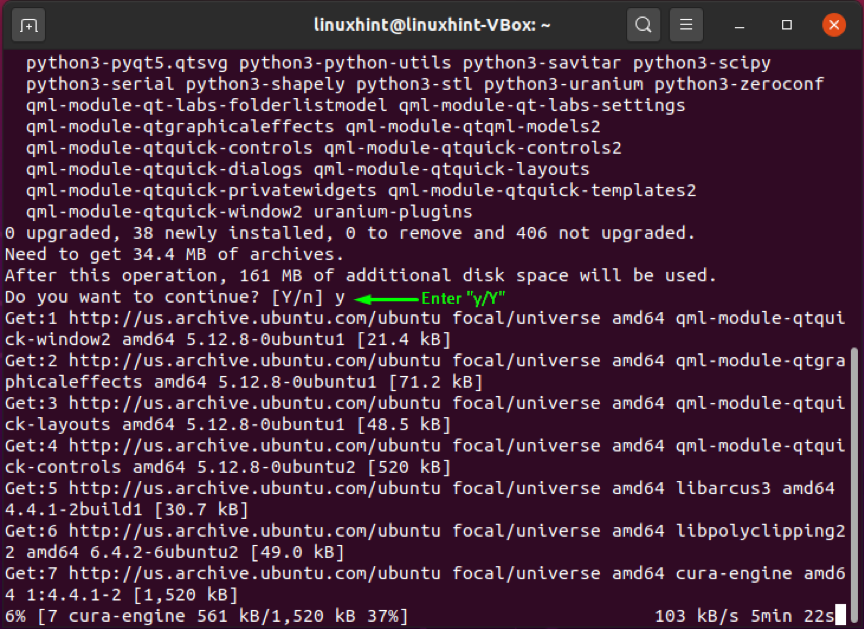
The below-given command will help you install the Cura application on your Ubuntu system:
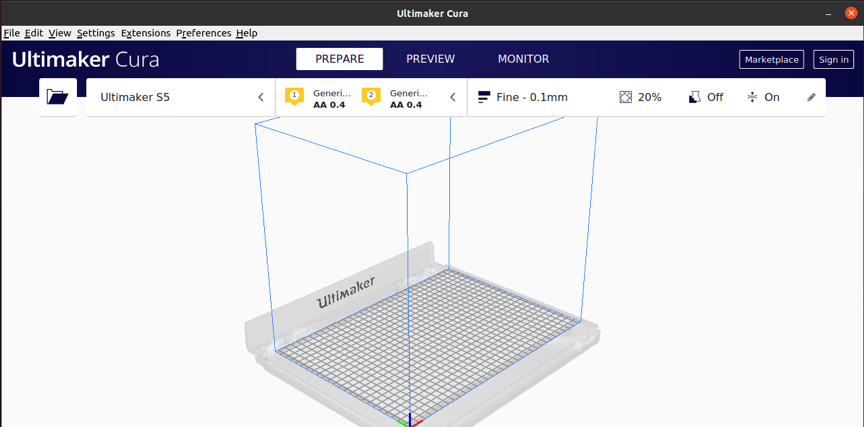
The error-free output indicates that Cura is installed on your system. Open up the Cura software by searching it manually in the Application’s search bar:
Blender
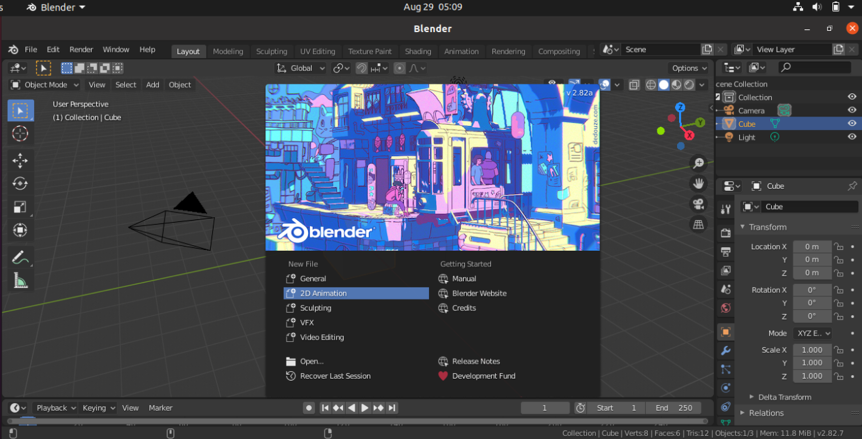
Blender is a freely available open-source 3D computer graphics software developed by a global community of visual effects experts, artists, students, animators, scientists, game creators, and other people. This software is utilized for creating 3D printed objects, 3D arts, visual effects, 3D applications, animated films, and video games. It is an intuitive and feature-rich software.
With Blender’s built-in path-tracer engine, its users can attain ultra-realistic rendering. It has a set of modeling tools that swiftly edit, develop or transform its 3D models. The object and camera tracking tools assist in importing and tracking raw footage and watch camera motions in 3D scenes. Its animation and rigging capabilities are great for making commercials, short films, and TV shows. Blender users can easily mix 2D and 3D in its viewport. It also has a 3D creation suite that comes with a Python API. This 3D creation suite helps change the size, colors, fonts, and layout of the interface.
How to install Blender on Ubuntu
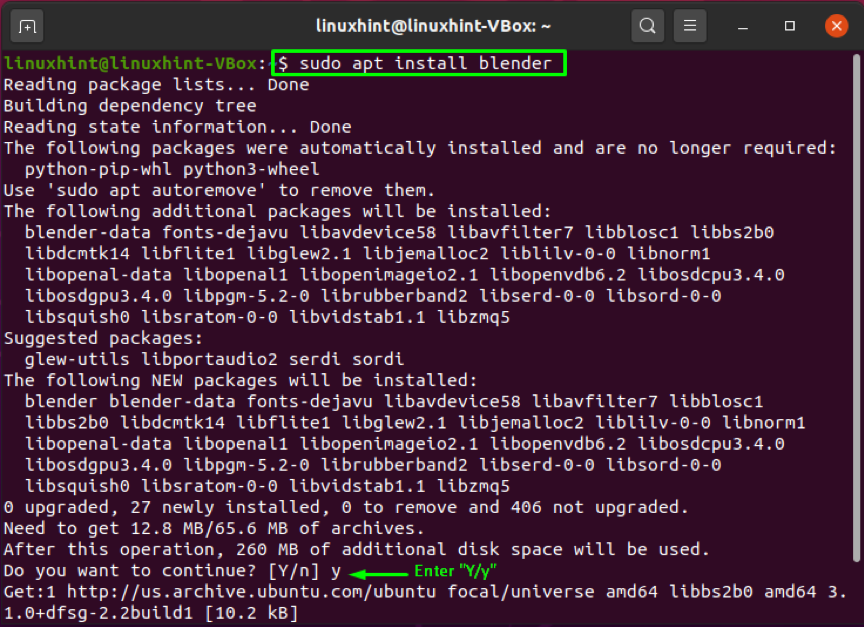
Write out the below-given command in your Ubuntu terminal for installing Blender:
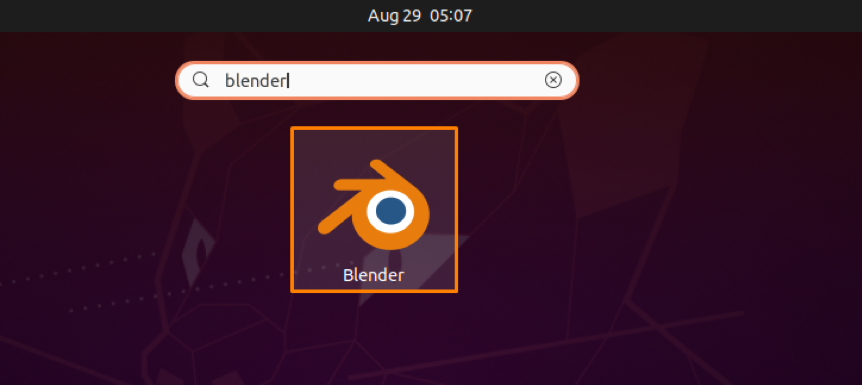
The error-free output declares that now Blender is installed on your system. Open this 3D graphical application by searching it manually in the Application’s search bar:
Conclusion
Engineers and designers can easily create three-dimensional models and print them into real products using 3D printing software. The aerospace, automotive, and robotics industries are getting maximum benefits from 3D printing software. In this post, we have discussed the best 3D printing software for your Ubuntu system. Moreover, the installation methods of the 3D printing software are also provided for you.

