How to use LibreOffice to edit PDF files in Ubuntu
LibreOffice is a document related built-in office suite of Ubuntu: it provides support for various tools like LibreOffice write, LibreOffice draw etc. The LibreOffice draw is a vector graphics editor that can be used to create figures with the help of extended tools available in the package. The secondary use of this package is to edit files; so, let’s get started with this tool.
Navigate to any PDF file in your systems:
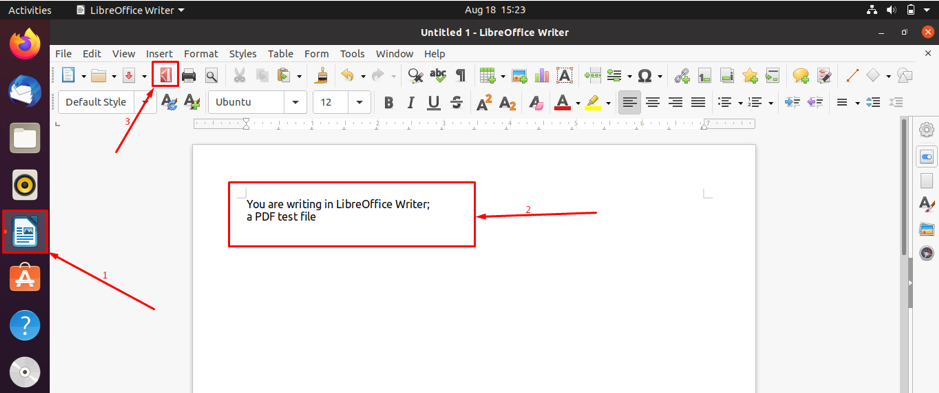
or if you want to create the PDF file, you can do so using LibreOffice writer by following a few simple steps as given below.
Open the LibreOffice writer application placed on the taskbar of the Ubuntu; write something inside the file and click on the PDF file icon, as shown in the image below:
After that choose the destination directory and type the name of file:
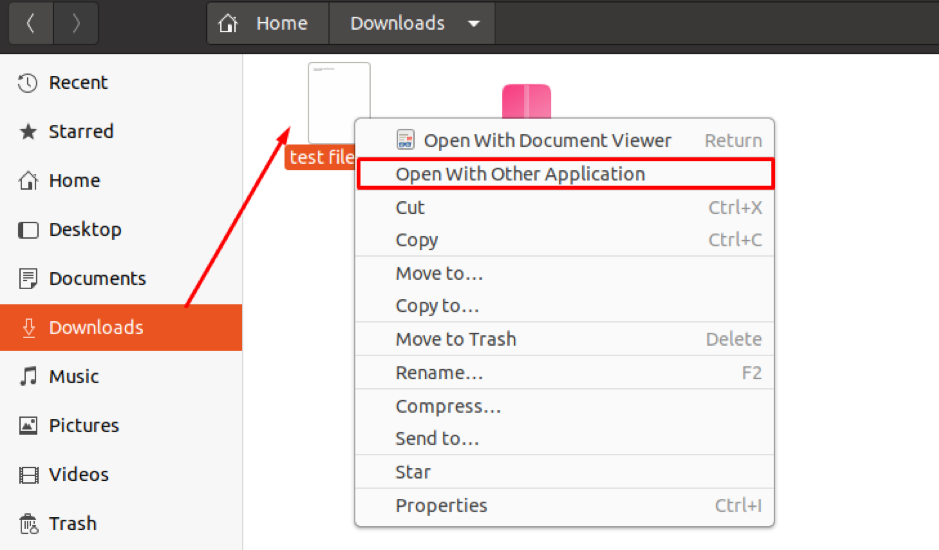
As we have saved the file in “Downloads” directory; locate the PDF file where you have saved it:
Choose “LibreOffice Draw” and click on “Select” to continue:
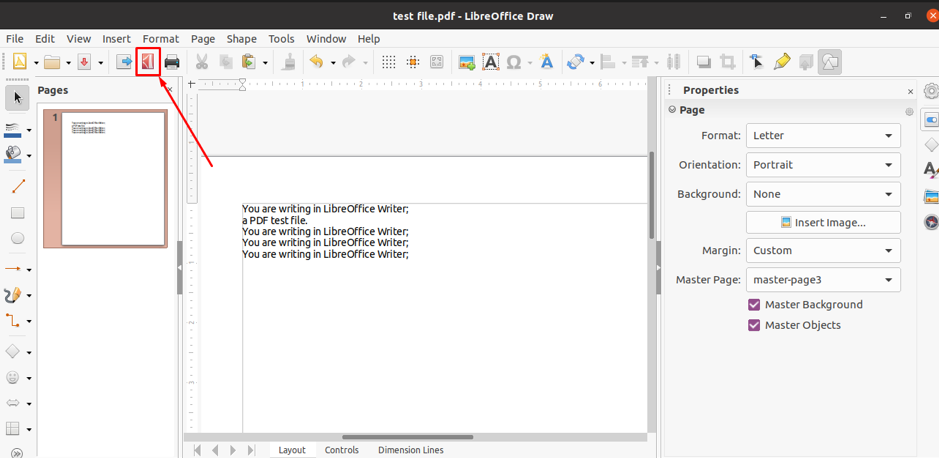
Now, you will see the document is opened in the selected application:
You will find the detailed list of options available for editing content of a PDF file; we have added few lines to the original content:
Remember a keynote here, whenever you make changes in PDF files using this tool; you must export the file as a PDF after making any change:
How third-party apps are used to edit PDF files
Other than LibreOffice Draw there are various third-party tools that enable you to edit too as well:
PDFescape
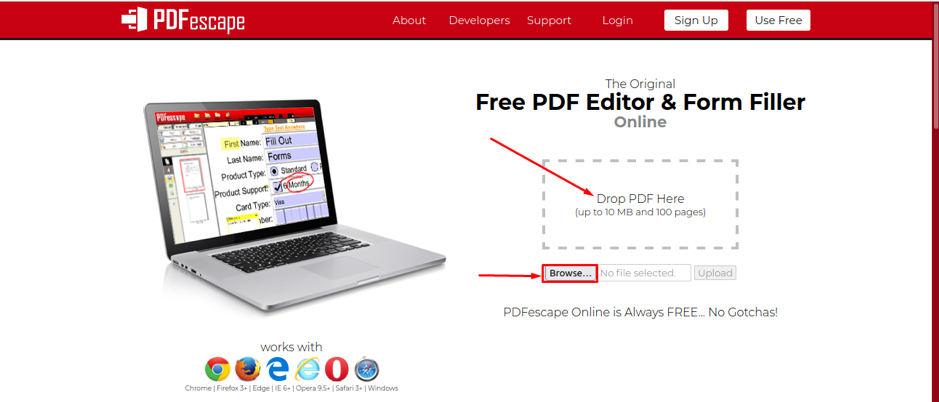
This tool provides a free online access to edit the PDF files using your favorite browser and the desktop version is also available: This tool allows the users to enjoy the features freely (using the online support) until the size PDF file does not exceed 10MB or the page count of 100. You can access this tool by navigating to the link mentioned below:
Once you have opened the link, you will get an interface as seen below; you have to add the pdf file by clicking on the “Browse” option; moreover, one can drag and drop the PD file to be edited:
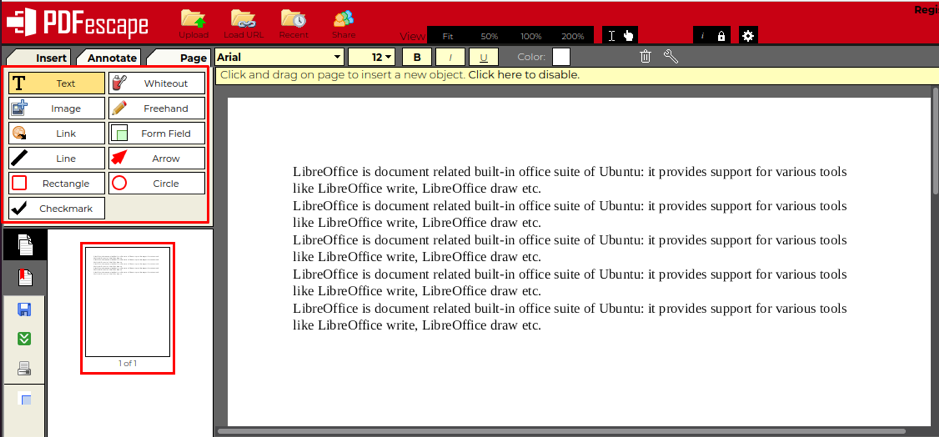
Once you have loaded the PDF file that you want to edit, this tool will display all the available edit options as shown below:
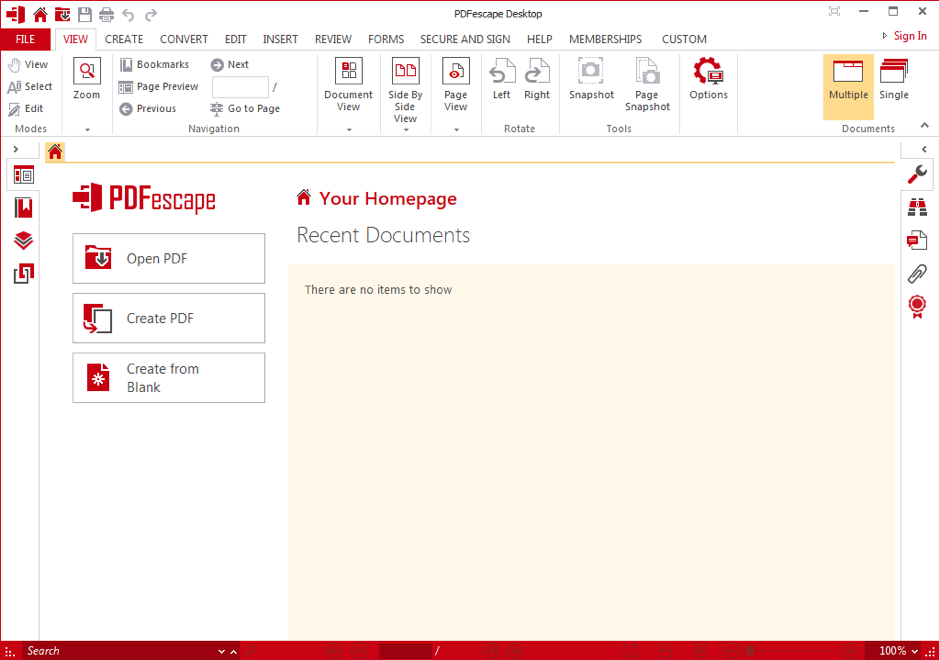
Moreover, other than the online free support of this tool, one can get the desktop version of this tool also; it is observed that you can get the desktop version on trial basis: Download here:
Master PDF Editor
This PDF editor allows the users to perform all the basic tasks in the free version and advanced level editing can be performed by purchasing its premium version.
The .deb file of Master PDF Editor can be downloaded by clicking here:
Or use the command line to download the .deb file by using the command given below:
Once it is installed, you can get the installed version by navigating to the “Show Application” icon available on Ubuntu desktop and then searching for master pd in the search bar as shown in the image below:
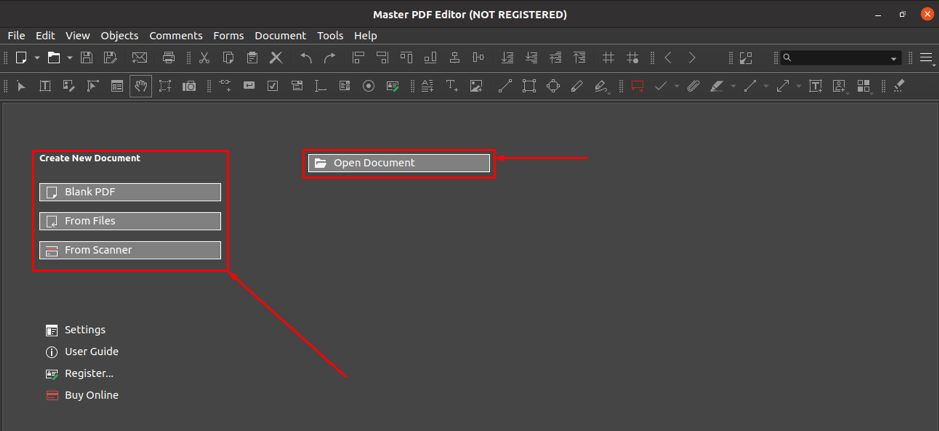
This tool give two options, at the a lunch; one option is related to opening the document and other option offers to create a new file: Click on open “Open Document” and choose the pdf file from your Ubuntu system that you want to edit:
Once the file is loaded into this tool, it would come up with extensive range of available options to edit the file:
Conclusion
PDF remains in the list of top tools related to documentation; users prefer to convert their documents in PDF file for better presentation. We have presented the demonstration to edit PDF files in Ubuntu to encounter the editing difficulties of a PDF file. Several ways are explained in this regard, such as you can use LibreOffice Draw to edit files or various third-party apps for editing are also available. Ubuntu supports several online and offline support for PDF editing; you can use built in LibreOffice Draw for quick edit, moreover, one can opt for third party tools for detailed editing.

