In the software industry, there are many options available for screen recording in a Ubuntu system. However, we have compiled the best screen recorders that you can utilize on your system. So let’s discuss them in detail!
How to record a section of screen in Ubuntu using built-in screen recorder
You have seen YouTube videos where people share screen recordings of their Ubuntu desktop. Are you curious to know how they do it? You can also do so by using the built-in screen recorder of your Ubuntu system. The built-in screen recorder is a part of the GNOME Shell desktop. You have to hit a finger-flexing keyboard shortcut to launch the GNOME Shell screen recorder, and then you can instantly record whatever is on your desktop screen. The same keyboard shortcut can also be used to end the screen recording.
The keyboard shortcut that is utilized to start the recording of your Ubuntu screen is:
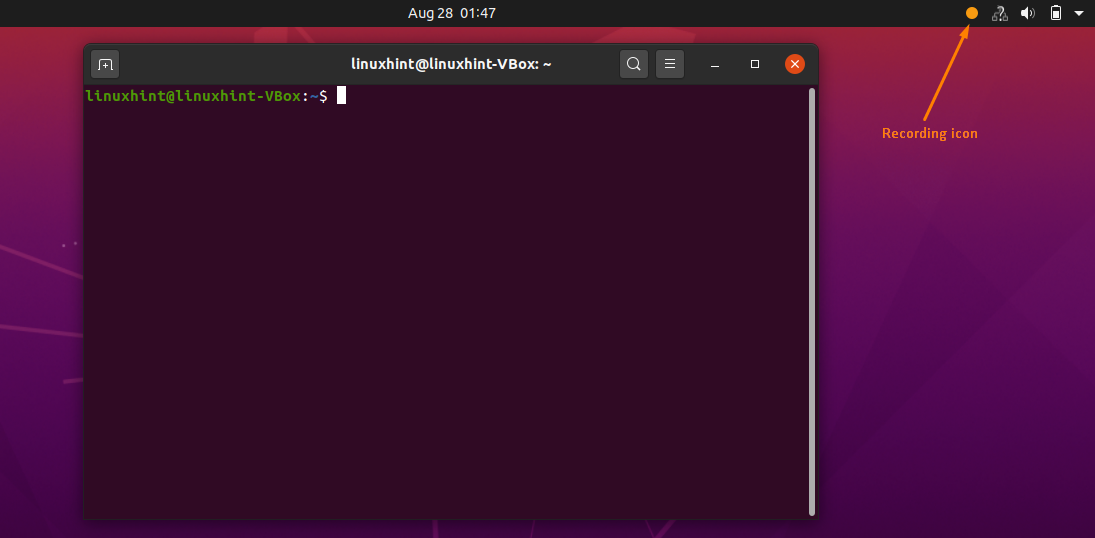
After hitting the shortcut mentioned above, you will see an orange circle on the top right corner of your window. This icon symbolizes that there is a recording in process.
However, the GNOME screen recorder will stop recording after 30 seconds.
How to increase the duration of GNOME screen recorder
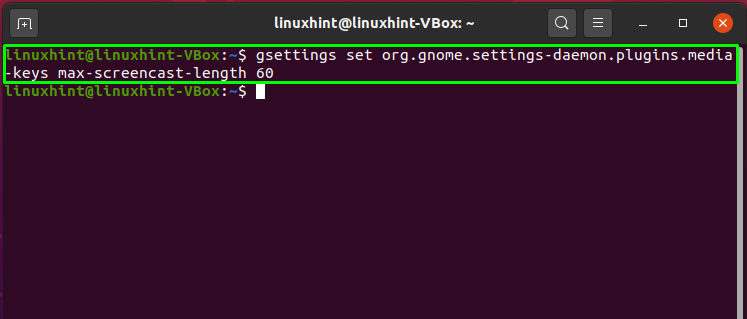
The “gsettings set” command is utilized for configuring the GNOME settings, and adding “max-screencast-60” will increase its video length from 30 to 60 seconds:
How to remove time limit of GNOME screen recorder
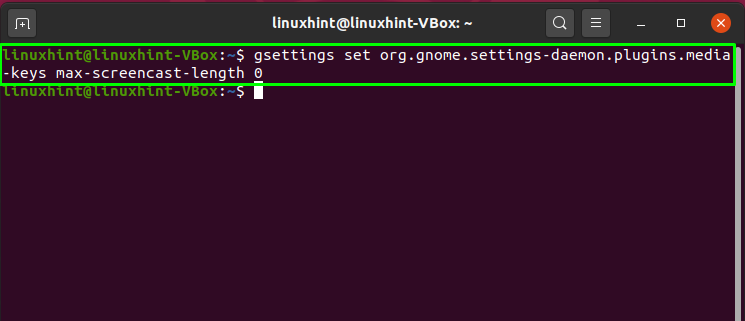
If you specify the “max-screencast-length” as “0”, then the “gsettings” command will remove the time restriction from the GNOME screen recorder:
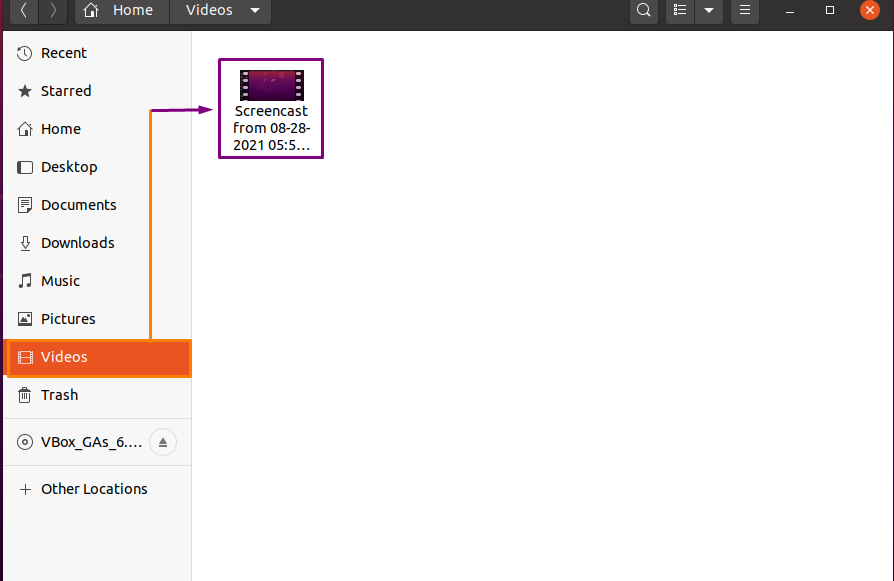
Your screen recording videos will be saved in the “Videos” folder:
How to configure the GNOME built-in screen recorder
In Ubuntu, you can customize your built-in screen recorder in two ways: set the maximum recording time and use a keyboard shortcut. To do so, “dconf-editor” is installed on the Ubuntu system:
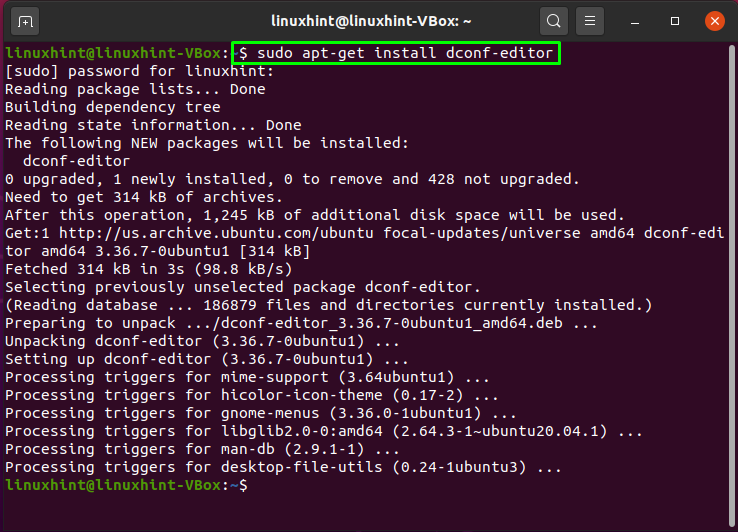
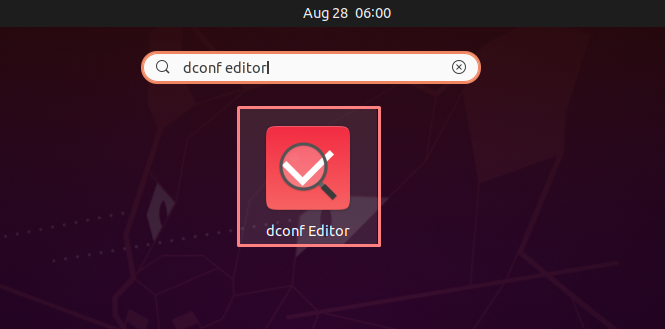
The error-free output declares that now “dconf-editor” is installed on your system. Open it up by searching manually in the Application’s search bar:
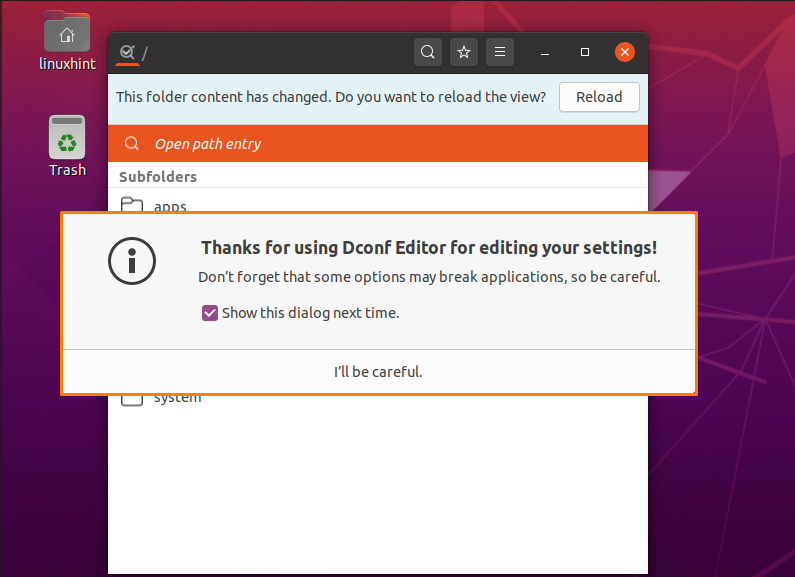
For the first time, when you will open “dconf-editor” it will show you the following dialog box:

How to increase the length of GNOME screen recorder
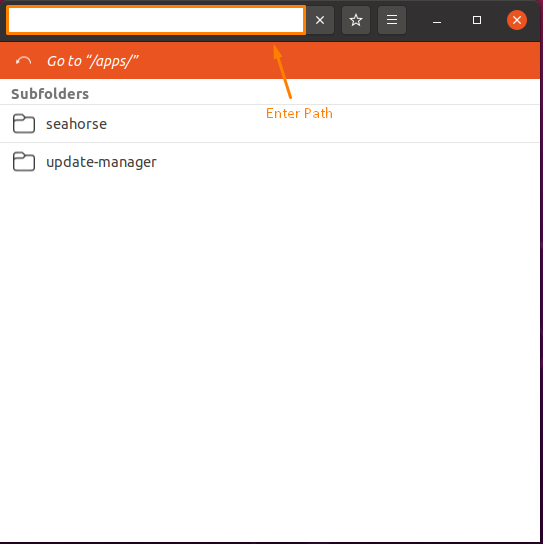
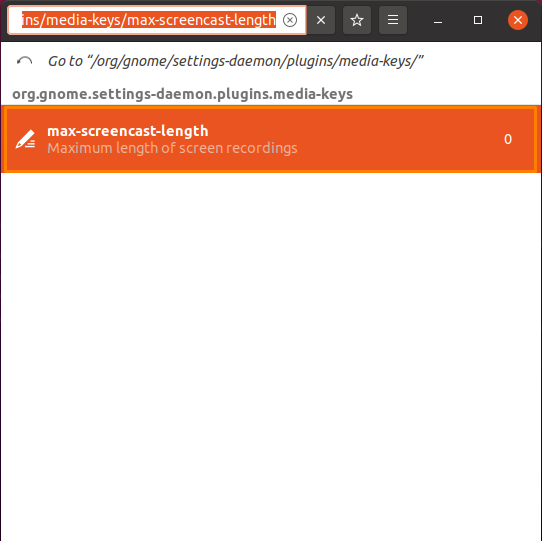
Now, if you want to define the maximum length of your screen recording videos, then add the following path into the highlighted search bar:
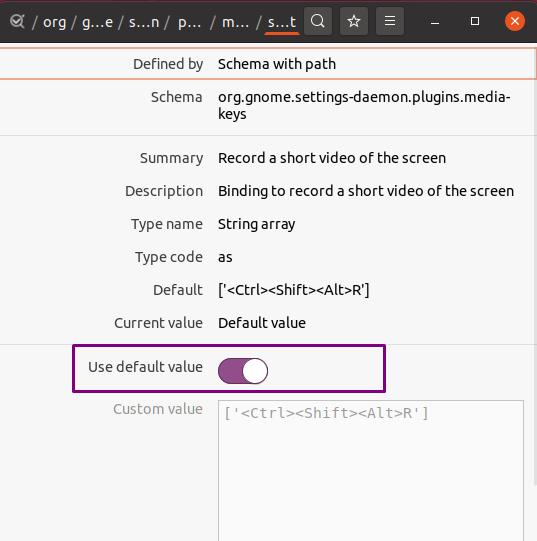
The entered path will take you to the “max-screencast-length” settings. We will click on the “max-screen-length” option for changing the maximum length of screen recordings:
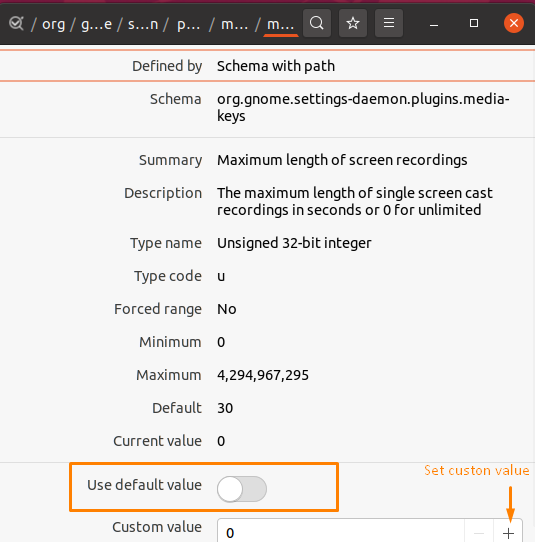
The “max-screencast-length” settings offer you two options: either use “default value,” which is 30 seconds, or add a “custom value” by clicking on the “+” button at the bottom of the right corner:
How to change the keyboard shortcut for GNOME screen recorder
Want to customize the keyboard shortcut of GNOME screen recording? The “dconf-editor” provides you the option to set the keyboard shortcut for the built-in screen recording. To do so, add the following path in the search bar:

Now, open the “screencast” settings by clicking on the highlighted option:
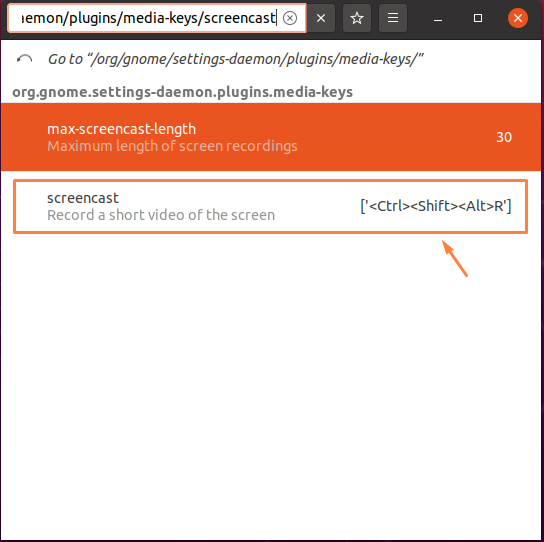
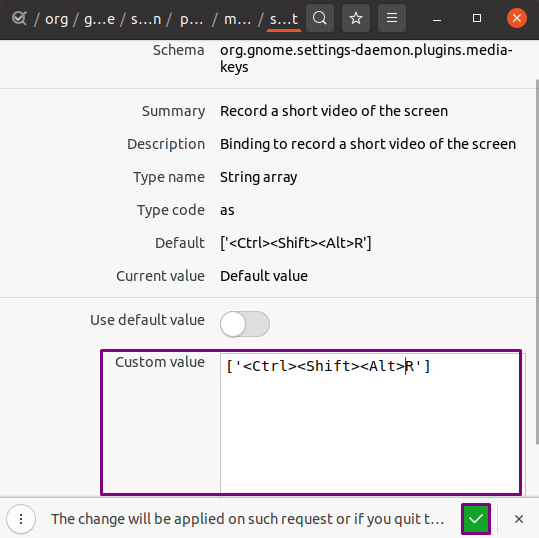
You will see that the screencast enabled the “default value,” which is “CTRL+SHIFT+ALT+R”:
To customize your keyboard shortcut for recording screen using this GNOME screen recorder, disable the “default value” option. After that, add your customized keyboard shortcut in the “Custom value” box, and click the “tick” button:
How to record a section of screen in Ubuntu using GUI applications
Your Ubuntu system’s built-in screen recorder has the facility for recording the Ubuntu screen. However, it lacks half of the features included in GUI screen recording apps. That’s why, in this section, we will discuss some GUI applications that you can use for recording a section of the screen in Ubuntu.
What is Kazam
As an Ubuntu, if you are thinking about the best and lightweight screen recorder, then Kazam is here for you! This screen-casting tool has a simple GUI interface to use. It is a great option for users who need to use a screen recorder that requires fewer configuration steps. Kazam users can record audio and save video files in various formats.
How to install Kazam on Ubuntu
Execute the below-given command in your Ubuntu terminal for installing Kazam:
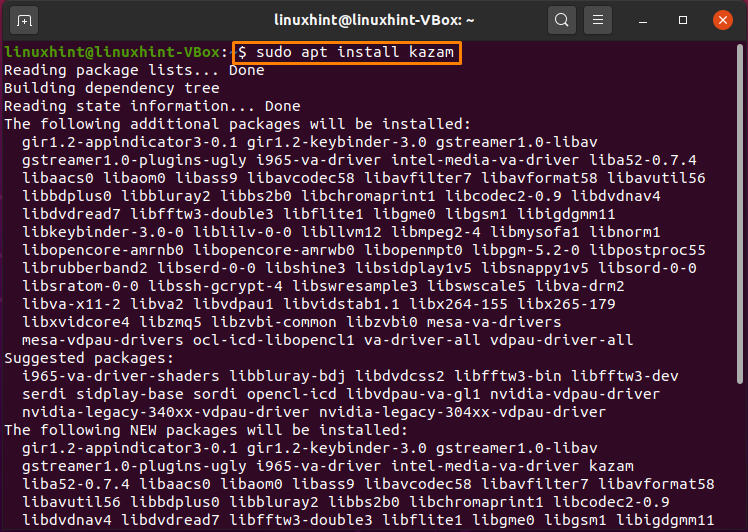
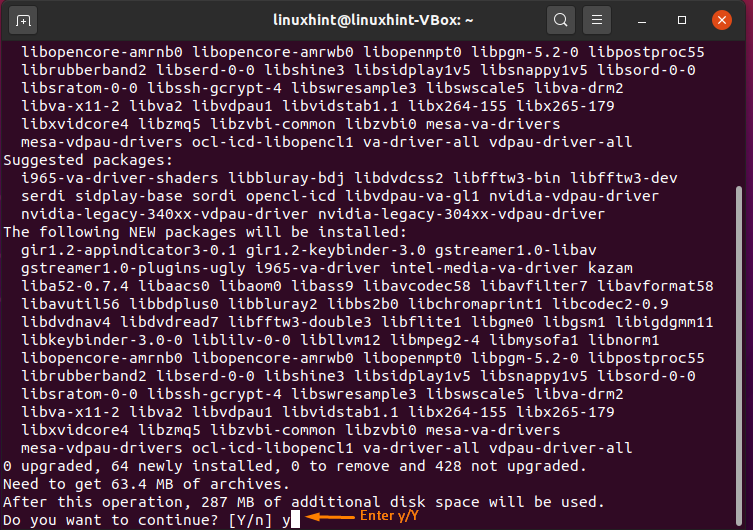
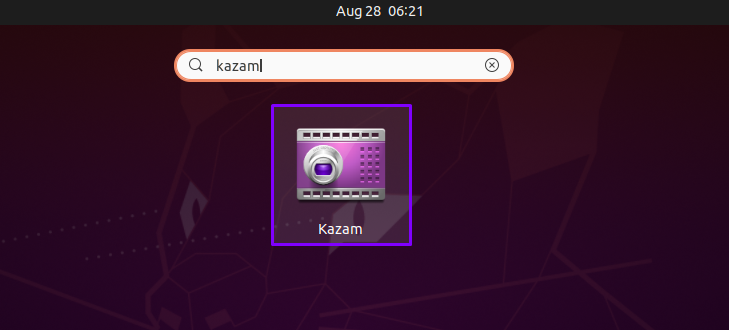
Enter “y/Y” to continue the Kazam installation, the error-free output will declare that now Kazam is successfully installed on your Ubuntu system. Open it up by searching it manually in the Application’s search bar:
How to use Kazam on Ubuntu
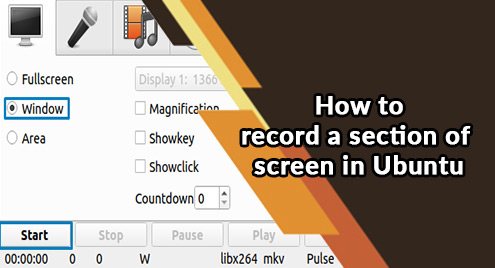
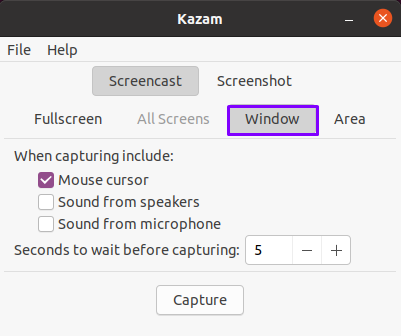
Kazam offers you to screencast or take screenshots of your system. It’s up to you whether you want to capture Fullscreen, window, or a specific area of your screen. For instance, we have selected to capture “Window”:
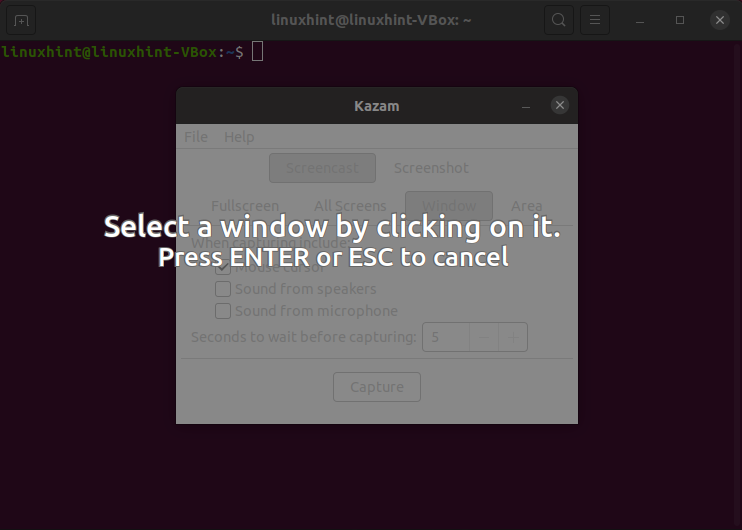
Utilize your mouse to select a Window for capturing it and then hit “Enter”:
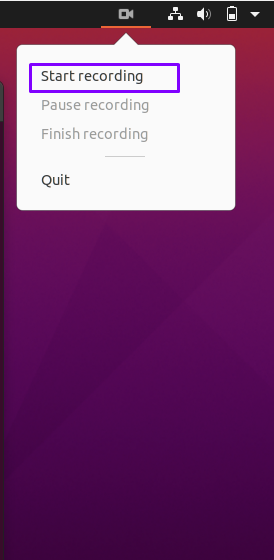
Now, you should see a camera icon at the top right corner of your system Window. Click on it, and select the “Start recording” option:
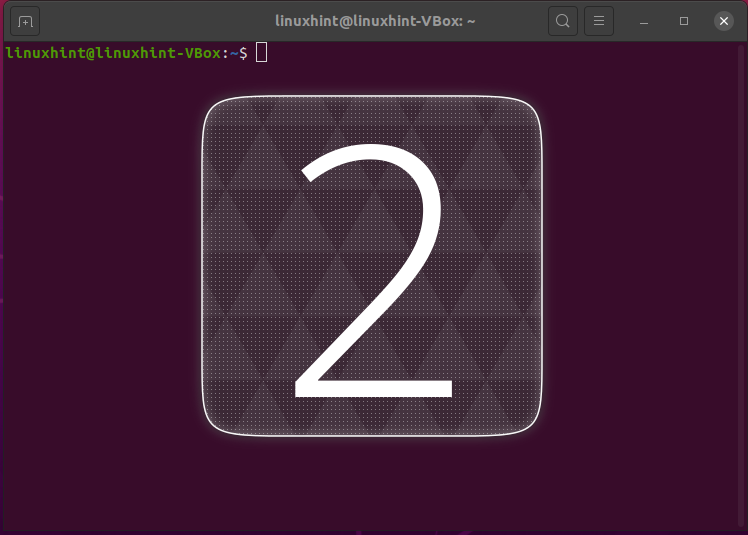
Kazam will start screen recording in five seconds:
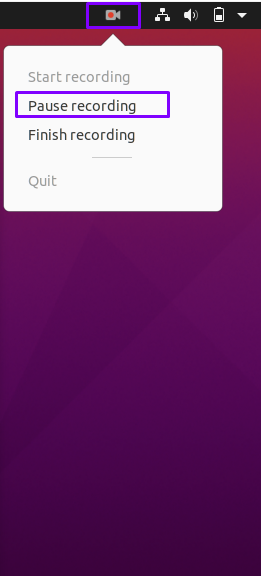
To pause the screen recording, again click on the camera icon and select the “Pause recording” option:
What is Voko
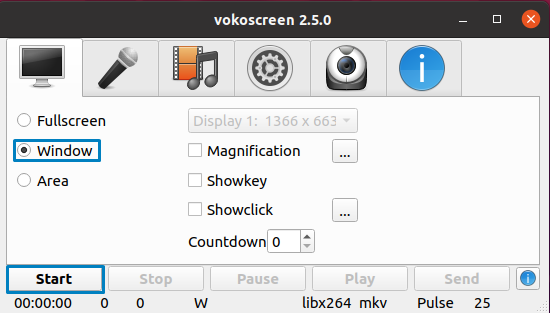
Vokoscreen is a screen-casting program for Ubuntu users that is straightforward to use. This screen recorder supports a variety of video output types as well as appropriate audio input. Vokoscreen can record a selected area of the desktop screen or the entire desktop screen. You can use it for capturing a section of your screen in the Ubuntu system.
How to install vokoscreen on Ubuntu
Utilize the below-given command for installing a Vokoscreen recorder on your Ubuntu system:
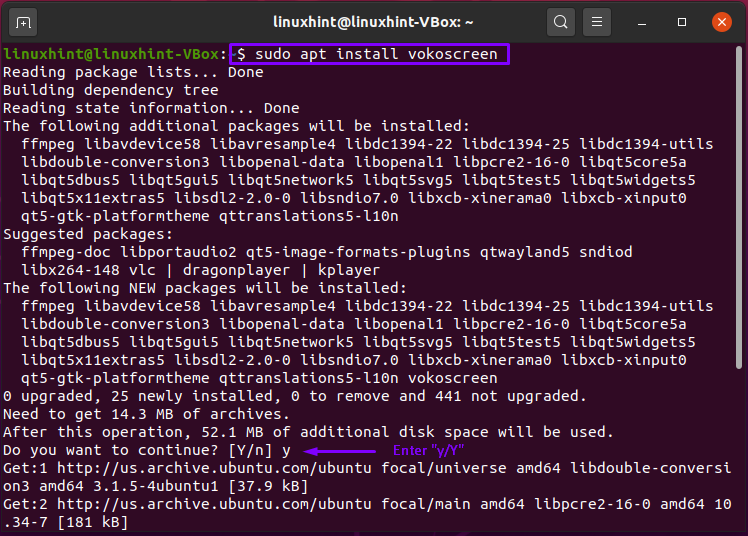
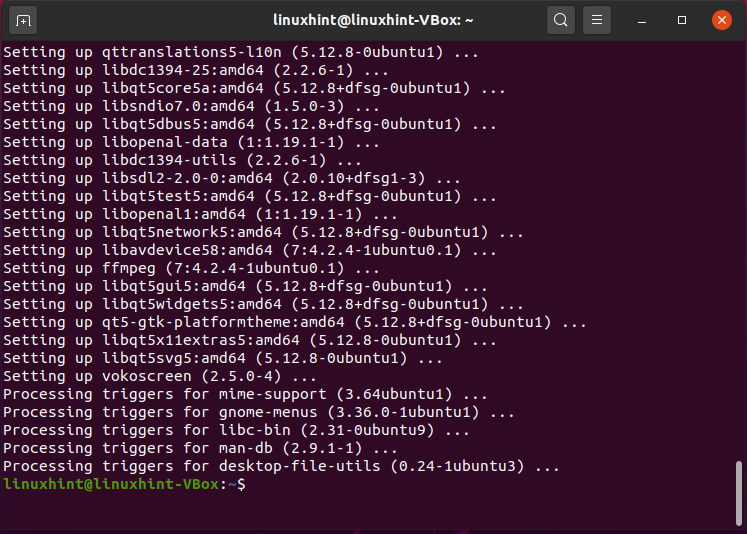
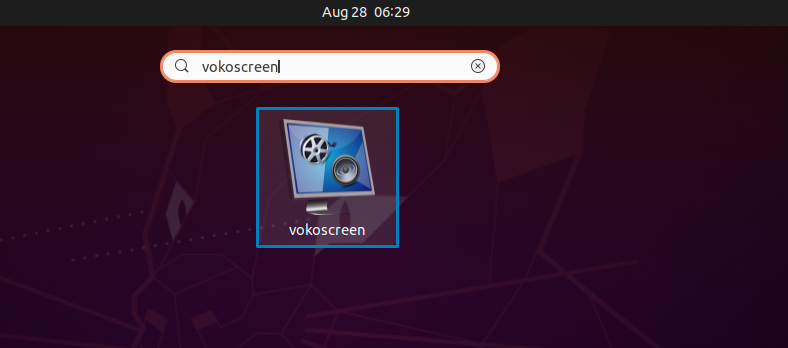
The error-free output signifies that now you have Vokoscreen installed on your Ubuntu system. Open it up by searching it manually in the Application’s search bar:
Conclusion
Screen recorders assist Ubuntu users in recording the screen effortlessly. With a screen recorder, you can screen record your games, share your screen on Ubuntu with audio, record your meetings, capture fun moments, and much more. This post shows you how to record a section of the screen using built-in and GUI screen recorders. We recommend you to go for the GUI screen recorders as they provide more options related to screen recording.