
Now to connect the wifi with the machine, say laptop, we need to configure it. In this write-up, we are going to discuss the configuration settings of the wifi in Ubuntu:
How to configure wifi in Ubuntu
We can configure the wifi by means of two methods either by the graphical interface method (GUI) or by the command line method in the terminal. We will discuss both procedures here in detail.
Wifi Configuration using command line method
We can connect to the wifi using the command line method. For this purpose we will open the terminal and we will find out the name of our wireless network interface. List command “ls” is used to list the files of /sys/class/net.

The output has listed the files present in the /sys/class/net path. We will have the name of the network interface, in our case the name of our network interface is “wlp2s0” We will note down this name. Now we will list the /etc/netplan to find out the network configuration files so we can configure it to connect to the wireless internet:

We find out the name of the network configuration file present in the /etc/netplan. Now we will open this command with the help of “nano” to edit it and as “etc” is a root folder we will use the “sudo” command:

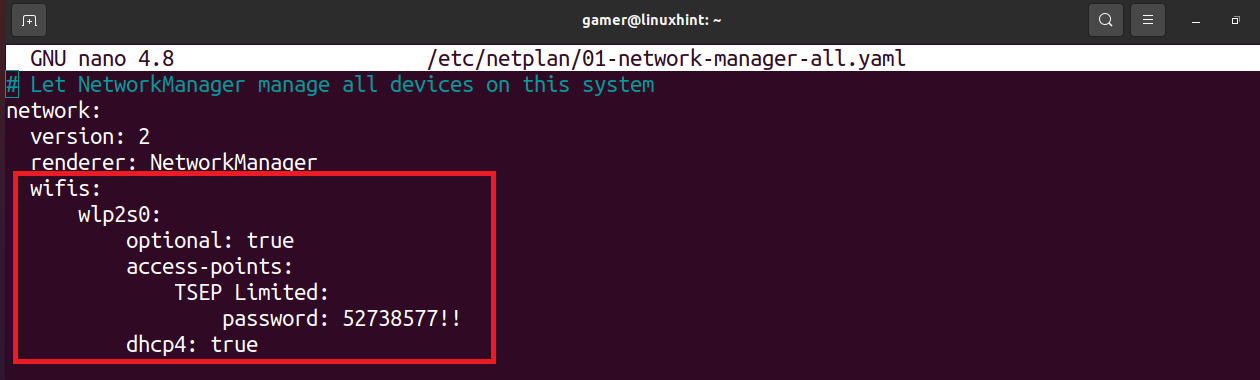
After typing the command as we press ENTER key, the configuration file will be open in the editor. Now we will write the following code but while typing the code we will make sure or will take care of this that the alignment should be the same as shown in the figure and also the spacebar should be used for the spaces rather than the use of Tab button.
wlp2s0:
optional : true
access-points:
“Wifi name”:
password: “enter the password of wifi”
dhcp4: true
In this code, replace the wlp2s0 with your wireless network interface name. Also enter the wifi name and password in the quotes (“ ”) and then remove the (“ ”) as used in the image:
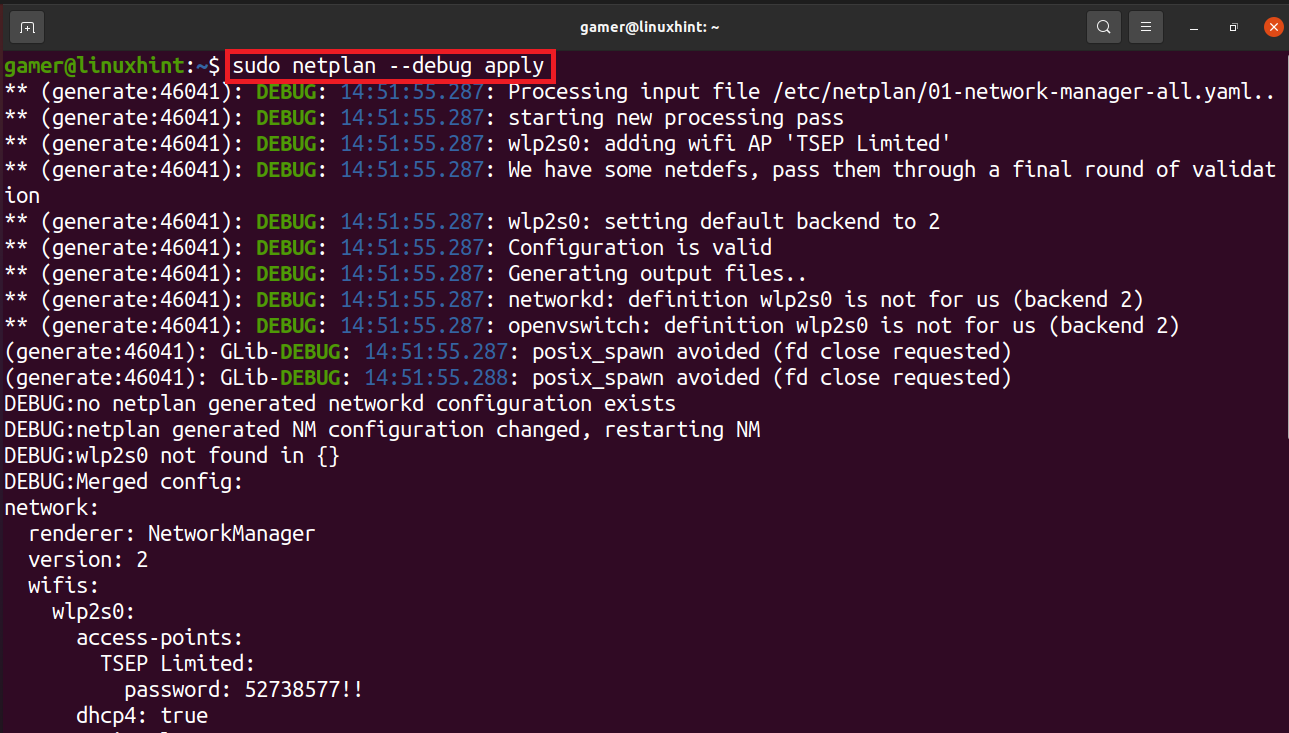
By editing the file press CTRL+S to save the text and then CTRL+X to exit the editor. Now we will run the netlan command to apply configuration settings to be execute:
The wifi connection has been established and it is connected to the wifi to which we configured it before. To confirm the wifi connection we will run the command of “ip a”.
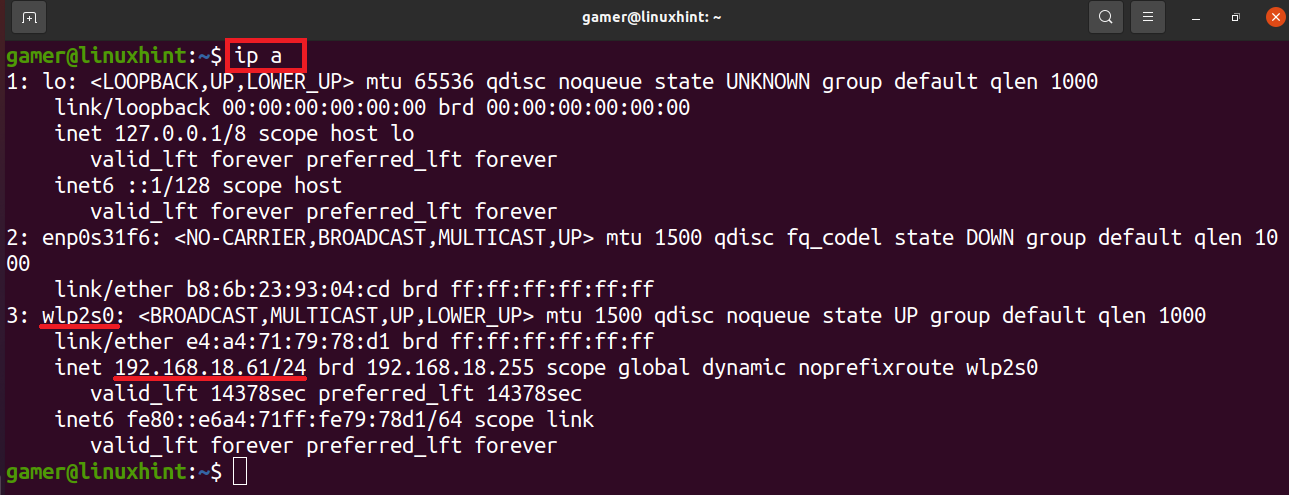
We can note that the ip address of the wifi connection to which it is connected is showing in the wireless network interface. So our wifi is connected successfully after the configuration we did.
Wifi configuration using GUI
We can also connect the wifi manually by using the GUI method. For this purpose we first open the window of Ubuntu.
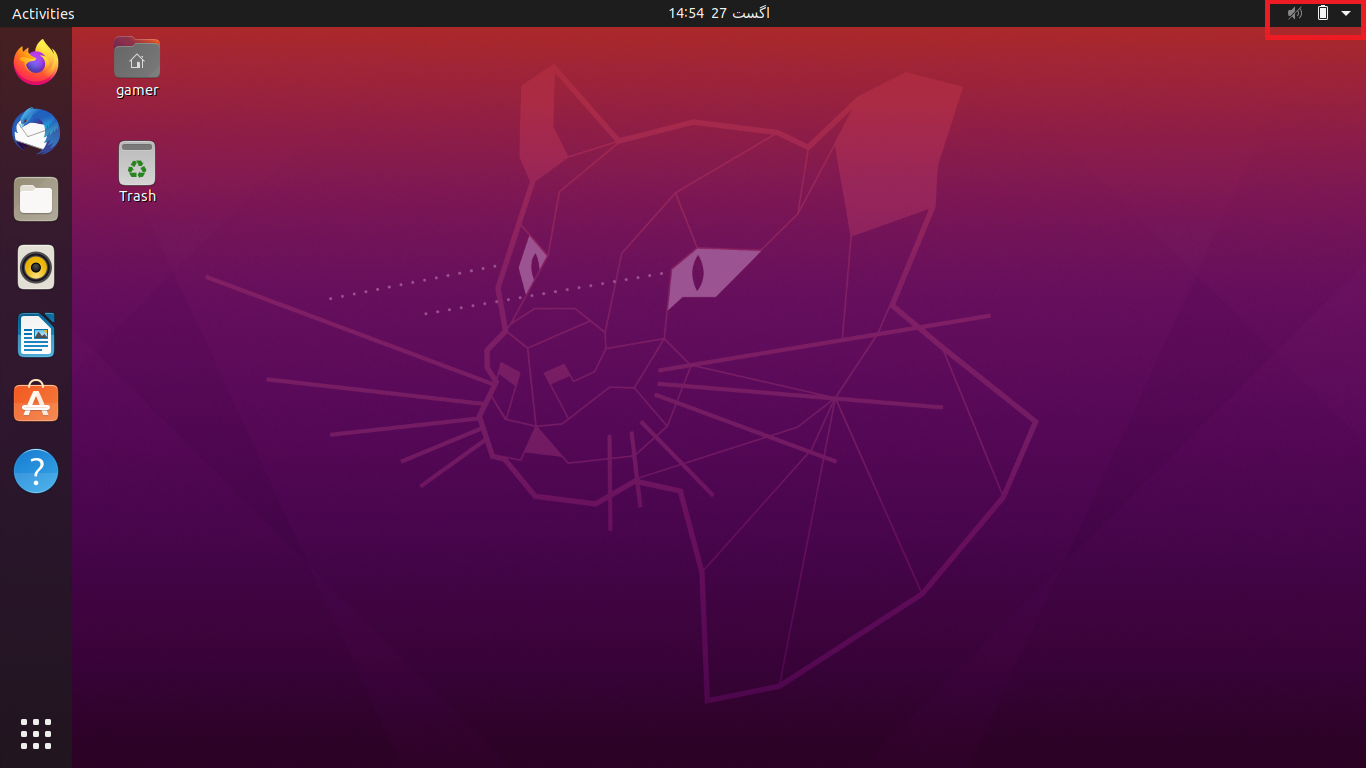
At the top of the window, on the right side, an arrow is present, click on it. When we click there a dialogue box will be opened.
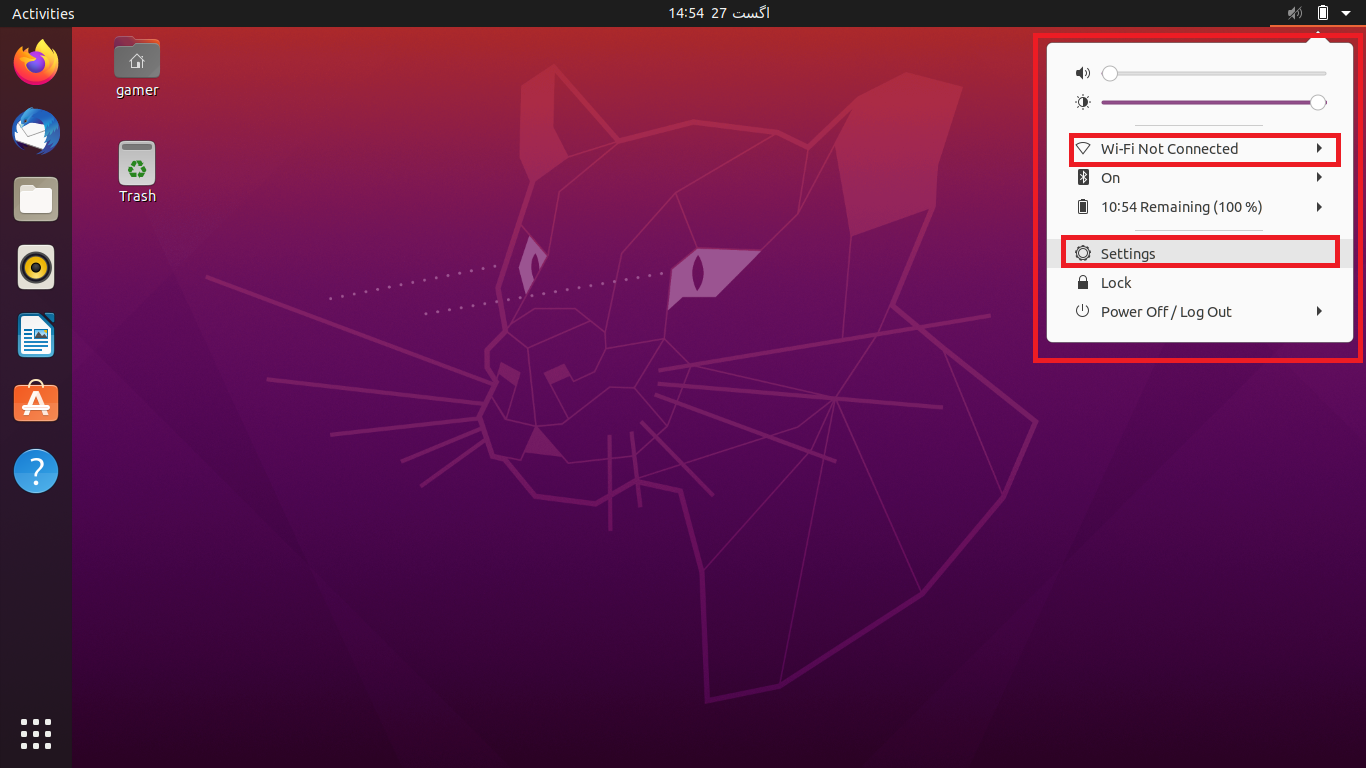
We will click on the “Settings”. Well we can also access directly to the settings of Ubuntu. Moreover we can also click on “Wi-Fi Not Connected” but sometimes this option is not visible so the convenient approach is to go to the Settings. After going to the settings section we will click on the Wi-Fi option present in the left side and a list of connections of all the available networks will be displayed which are in the range of the machine. Choose the required wifi network:
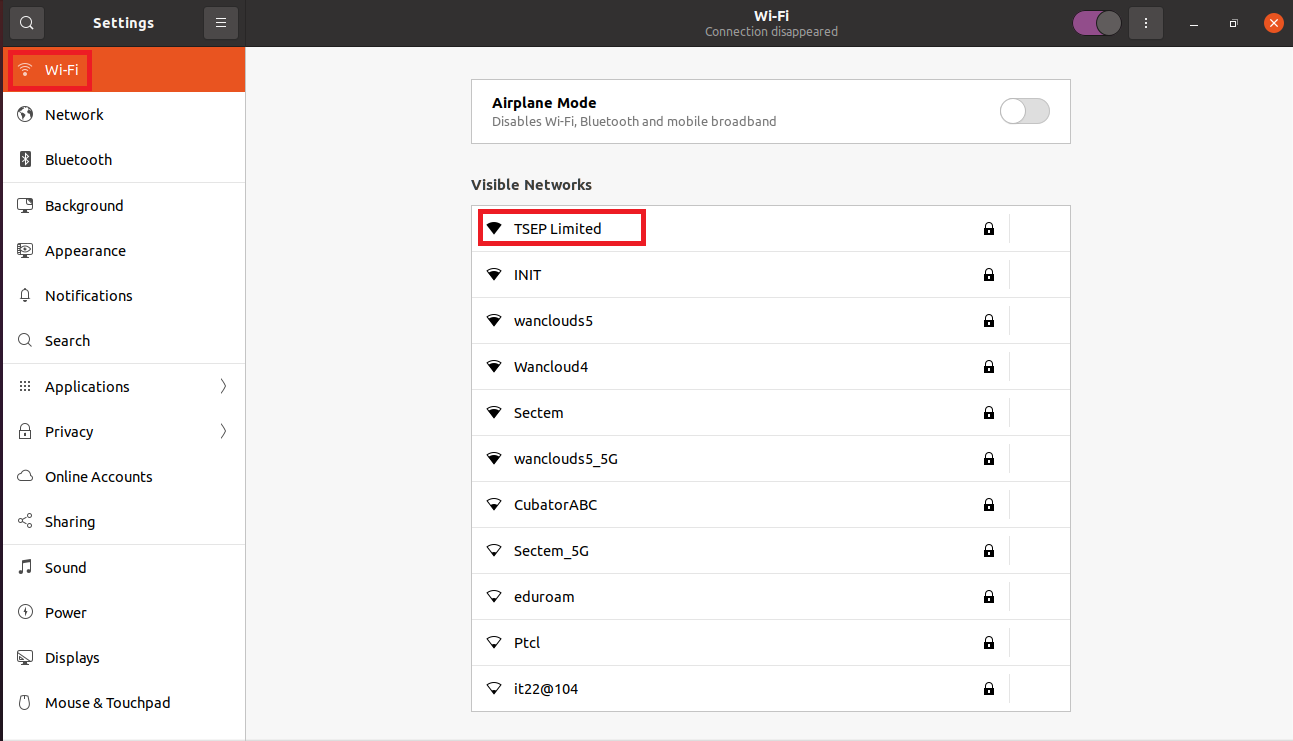
In our case, we are supposed to the connection “TSEP Limited” now as it is protected by a password so on clicking it, a dialogue box will pop up and will ask for the password.
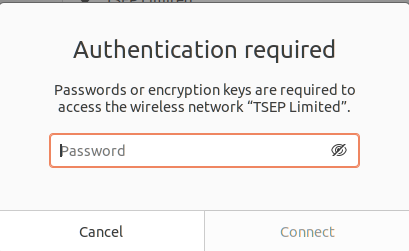
Once we enter the password, click on the Connect option which will be available after entering the password.
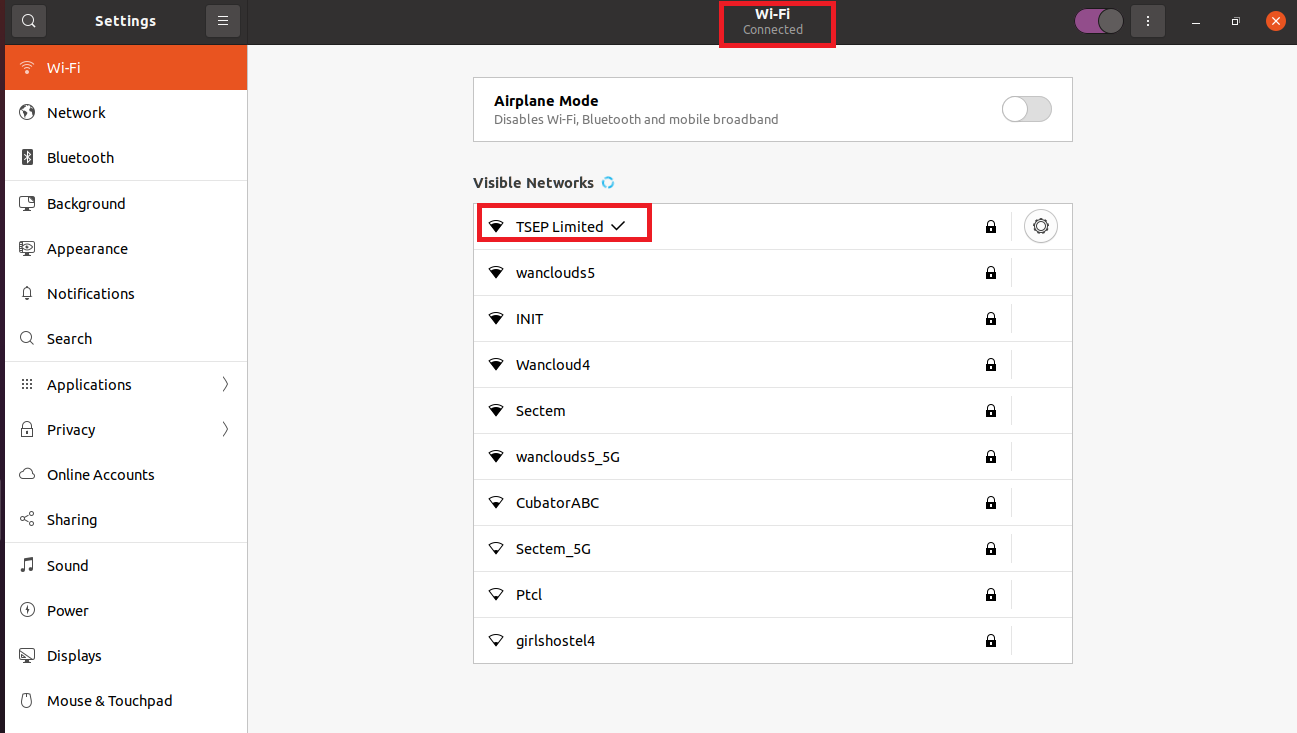
Now we are connected to our wifi network which can be confirmed either by the small arrow with the connection name or at the top under the title of Wi-Fi.
Conclusion
The Internet can be considered nowadays as the basic necessity of life and we can connect to the internet by means of the cables as we have a lot of devices and we want to work while travelling so the easiest way is to connect through the wifi. This write-up is related to how to configure and connect with the wifi in Ubuntu. We have discussed two methods either by the command line method or by GUI (graphical user interface). In the command line method we just open the terminal and with the help of neplan configure the wifi and get connected to it. In the GUI method, we simply connect to the particular wifi network by going to the settings. Though the GUI method is more convenient to connect, sometimes it creates the issue like it will not show your particular wifi connection in that case we can connect to it by means of command line method, the condition is that the wifi device should be in the range of the machine. We hope this follow-up enables you to understand how to configure the wifi devices in Ubuntu.