One of the normal tasks of administrators is to keep track of successful and failed login attempts to ensure that the environment is free of unwanted and illegal intrusions. Administrators can also look through the logs to see if there have been any security problems on the servers. A log file is created whenever someone tries to log in to a server using SSH. You may see the requested login date, timestamp, user account, and IP address. SSH was created as a protocol for creating connections between two systems that rely on a client/server architecture, allowing administrators and users to access the server or computer remotely.
This protocol is most commonly used by the system and network administrators and anyone who wants to administer a computer remotely. One of the most prominent benefits is that it is in charge of encrypting the link session to improve security by prohibiting attackers from reading unencrypted passwords. The rsyslog daemon in Linux keeps track of every attempt to login to an SSH server and records it in a log file. Combining, showing, and filtering log files is the most basic approach for listing all failed SSH login attempts on Ubuntu. In this article, we will find all failed ssh login attempts in Ubuntu 20.04 Linux system.
Installation of SSH
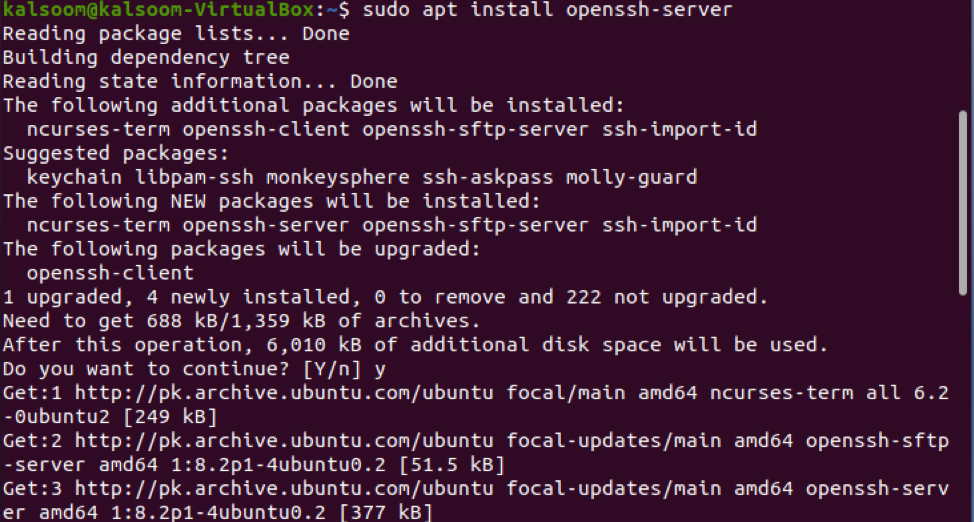
To find all unsuccessful ssh login attempts in Ubuntu 20.04 Linux system, open the terminal. You may either type “terminal” into your search engine of the application area or press “CTRL + ALT + T” on your keyboard. Installing OpenSSH is a simple process. It needs a connection to the server’s terminal as well as the machine you are using to connect. You have to install it by typing the listed command in the terminal window of the Ubuntu 20.04 Linux system.
When prompted, enter your sudo user password. After the hard disk prompt, Enter Y to begin the installation. If you press “N”, the installation will be stopped, and you have to execute the same command again.
Enable SSH
Once installation is done, you can enable ssh by typing the listed command in the terminal window.
The execution of the above command will display an almost similar output as shown in the screenshot.
Start SSH
Now you are ready to start the ssh by executing the mentioned command in the terminal window of the Ubuntu 20.04 Linux system.
The above command will start the ssh.
Check Status of SSH
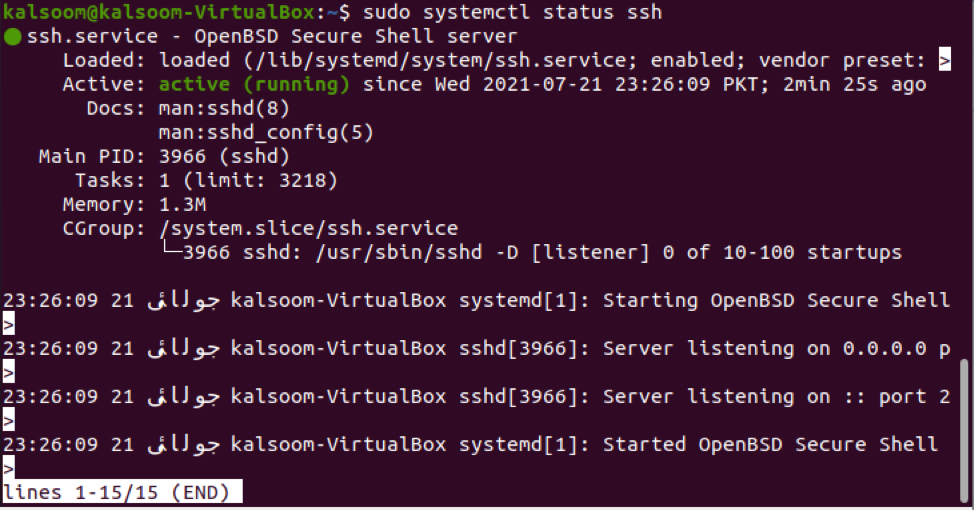
Type the following command to see if the SSH server is running on the Ubuntu 20.4 Linux system:
The output is displaying “Active”. This means all of our instructions are successfully executed.
List unsuccessful SSH logins
Execute some of the commands described in this tutorial to show a list of failed SSH logins in Ubuntu. Make sure you are running these instructions with root privileges.
The command shown below is the simplest way to list all unsuccessful SSH logins.
Another same command can be utilized for this purpose with the keyword “cat”. Execute it in the terminal as:
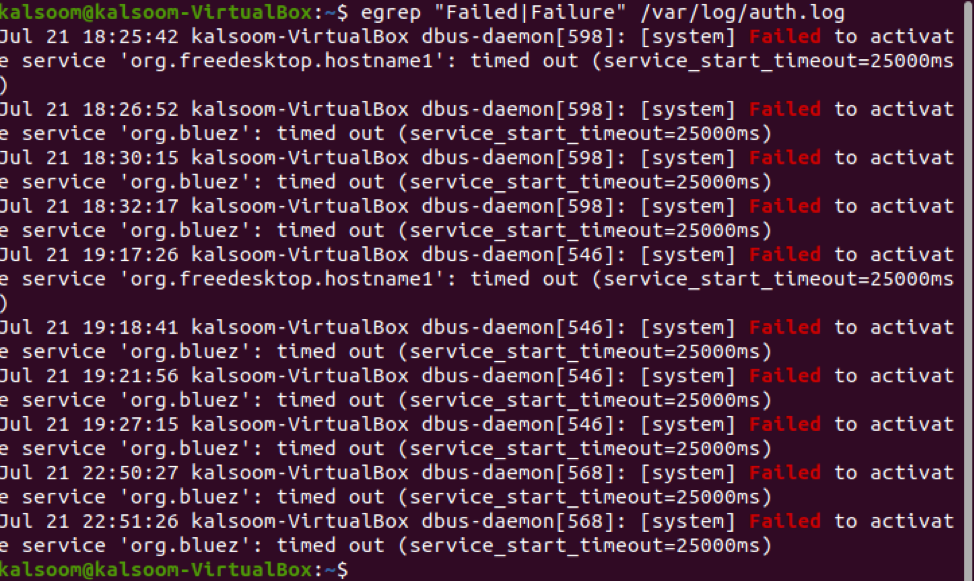
If you want to get more information about unsuccessful SSH logins on Linux, run the command appended below.
The details are much more comprehensive, as you can view from the above-displayed screenshot.
Conclusion
In this guide, we have explained the importance of ssh in the Ubuntu 20.04 system. Along with that, we have listed a way to install ssh on Ubuntu 20.04 system by using the apt command. By checking and following this tutorial, you will be able to find all failed ssh login attempts in the Ubuntu 20.04 Linux system. I hope this guide will be supportive for you during your relevant work.


