Mount Command
The mount command, as the name suggests, allows you to mount a variety of filesystems. Once you mount a ISO image filesystem using the mount command, you will be able to explore its content using a graphical file manager or command line. To mount an ISO image file, use the following two commands in succession:
$ mount file.iso "$HOME/mountpoint"
Replace “file.iso” with the name of your own ISO image file. You can change “mountpoint” to any other name. It represents the name of the folder where the ISO image filesystem will be mounted. In this case, a new folder is created in the home directory. On certain Linux distributions, you may have to prefix “mount” command with “sudo” to run the command as root.
To check if the ISO image file has been successfully mounted or not, you can run the following command:
If the command above returns a list of files and directories, then you can safely assume that the ISO image filesystem has been successfully mounted. You can now copy contents from the mount point to your local filesystem. Do note that most of the time, this mounted filesystem may be in read-only mode. If you want to modify the contents of the ISO image file, you may have to remove the write-protection mechanism and may have to use some external tools to repackage the ISO image file.
To unmount the mount point created in previous command, use the command specified below:
You may have to run it with “sudo” depending on configuration of your Linux distribution. It is highly recommended that you manually unmount the mount point once your work is done to avoid file corruption.
You can know more about “mount” command by running these two commands in a terminal:
$ man mount
Mount / Extract Using Archive Managers
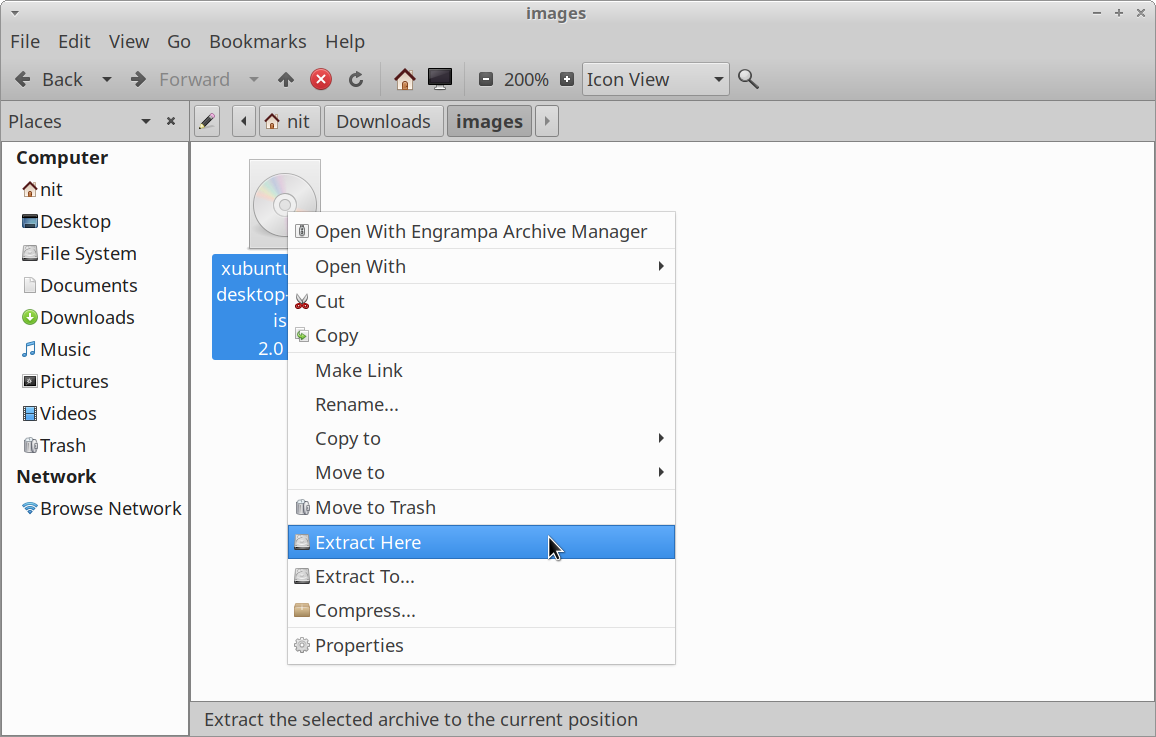
File managers in almost all major Linux distributions come with an integrated plugin for extracting and managing compressed archives. You can use these archive managers to mount or extract content from ISO image files.
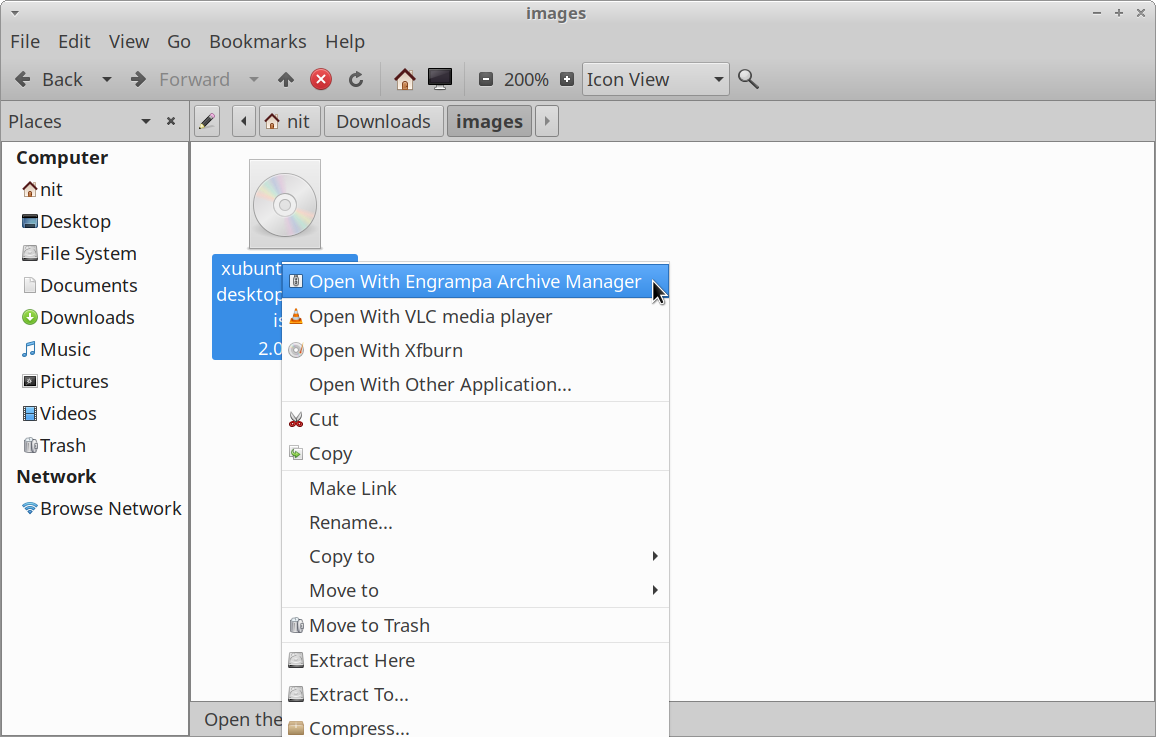
If for some reason your file manager doesn’t have a dedicated archive manager plugin, you can install such archive managers in your Linux distributions by searching for “archive manager”, “file roller”, “archivemount” and “engrampa” terms in the package manager. Once these packages are installed, just right click on an ISO image file and click on the menu entry that allows you to explore the archive.
Depending on the archive manager plugin you are using, the ISO image filesystem may be mounted or it may be opened in the archive manager GUI window. Once mounted, a new filesystem entry should appear in the sidebar of your file manager. Just click on the sidebar entry to explore its content. When your work is done, unmount it manually to avoid file corruption.
GNOME Disks
GNOME Disks or GNOME Disk Utility is a comprehensive utility for managing storage devices, local filesystems, partitions and disk image files. You can use it to mount an ISO image file and browse its contents. To install GNOME Disks in Ubuntu, use the command specified below:
You can install GNOME Disks from the package manager in other Linux distributions. Source code is available here.
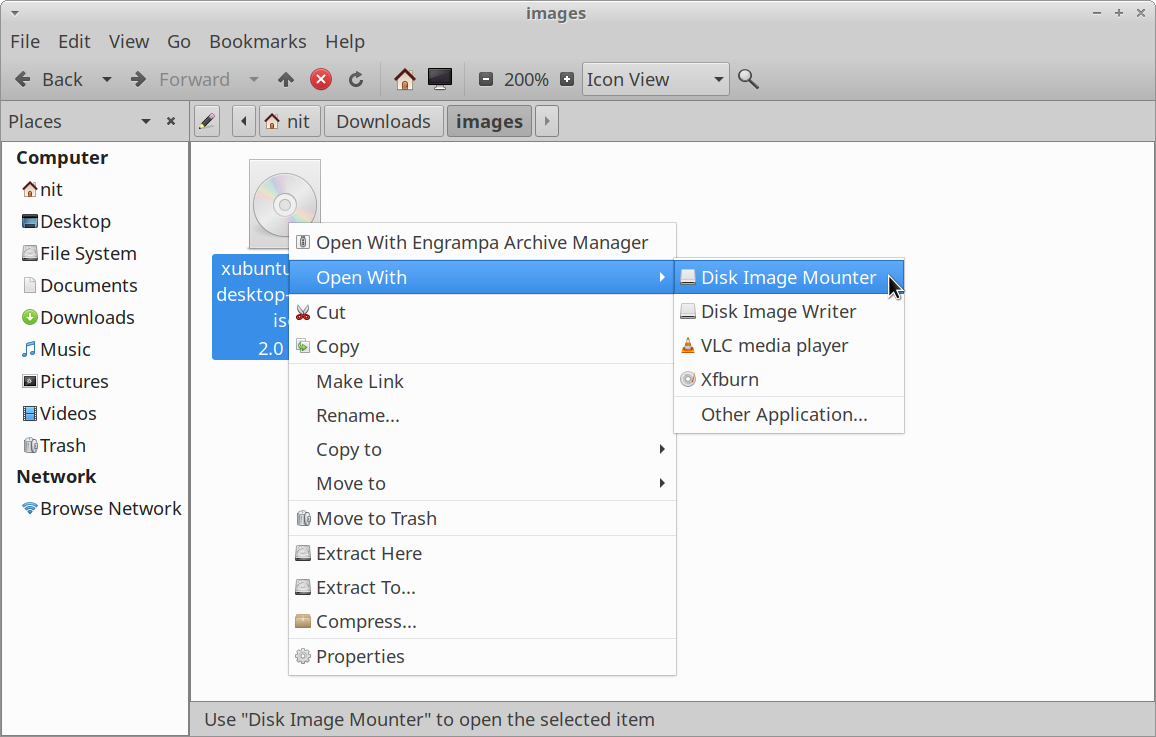
You can follow two approaches to mount an ISO image file using GNOME Disks. After installing GNOME Disks, a new right click menu entry called “Disk Image Mounter” may appear in your file manager. Just click on the menu entry to mount the ISO image file.
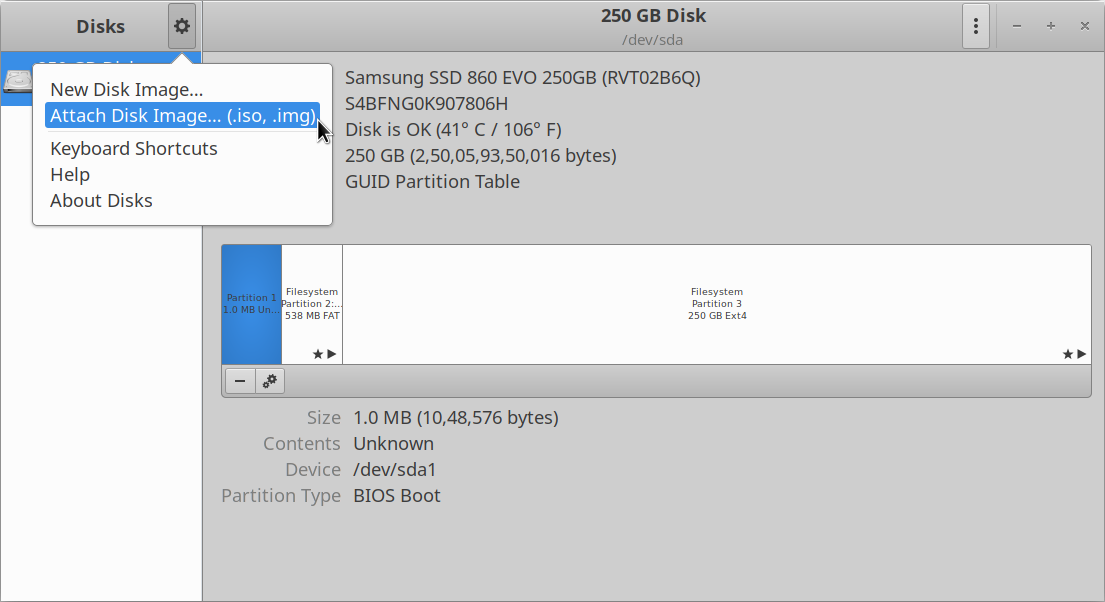
If the right click entry doesn’t appear in your file manager, launch “Disks” application from the main application menu and click on the “Attach Disk Image” menu option to mount your desired ISO image file.
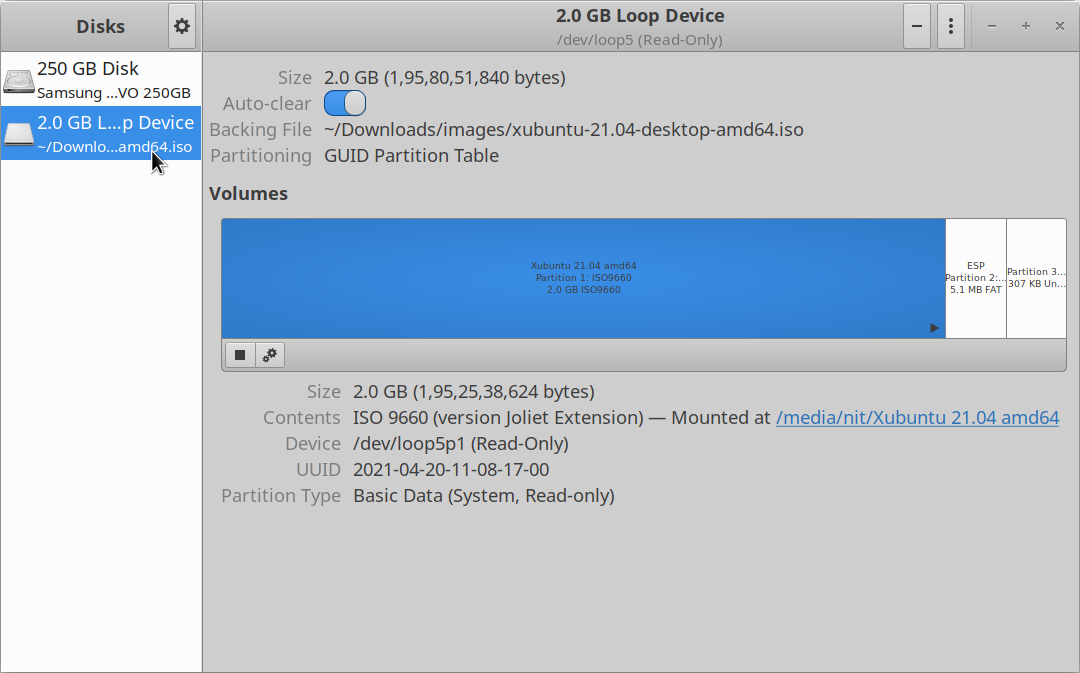
Once mounted, the newly created mount point should automatically appear in the GNOME Disks and your file manager.
P7zip-full
P7zip-full is an open source implementation of “7z” file format and archive management utility. You can use it to extract contents of an ISO image file.
To install P7zip-full in Ubuntu, use the command specified below:
You can install P7zip-full from the package manager in other Linux distributions. Additional packages and source code is available here.
Once installed, run the following command to extract content from an ISO image file (replace “file.iso” with your desired filename):
You can know more about “7z” command by running these two commands in a terminal:
$ man 7z
Depending on the file manager you are using, you may get a new menu entry in the right click menu to extract the ISO archive.
Conclusion
These are some of the ways you can mount ISO image files in your Linux distribution. Some Linux distributions come with a dedicated, pre-installed utility for mounting and burning CD / DVD disks. You can also use these applications to explore the data contained in an ISO image file.

