So here is a list of apps that provide an option to set FPS and were able to record 60 FPS videos on my system having a dedicated AMD GPU and Ryzen processor.
Kazam
Kazam is a clutter free and minimalistic app that allows you to record screen activity and capture screenshots. One of the unique features of Kazam is that it can record output from multiple audio channels, together with the ongoing screen recording. Kazam is available in the official Ubuntu repositories and it can be installed in Ubuntu by running the following command:

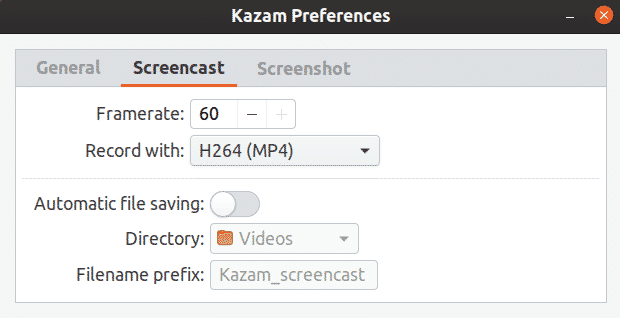
To enable 60 FPS recording in Kazam, go to its preferences and then set framerate to 60, as shown in the screenshot below.
Following hotkeys can be used to control Kazam:
- Begin recording: <SUPER + CTRL + R>
- Pause recording: <SUPER + CTRL + P>
- Stop recording: <SUPER + CTRL + F>
- Quit Kazam: <SUPER + CTRL + Q>
VokoScreen
VokoScreen can be used to record video and audio via ALSA or PulseAudio. It can also capture webcam stream simultaneously with an ongoing desktop recording and output from digital cameras as well, which is then encoded using FFmpeg in various user selected formats. VokoScreen is available in the official Ubuntu repositories and it can be installed in Ubuntu by running the following command:

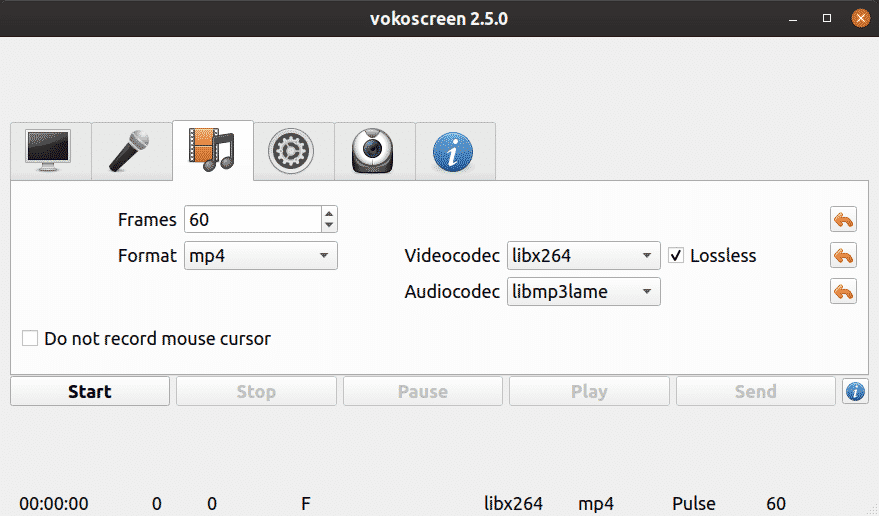
To set up 60 FPS recording in vokoscreen, go to video capture tab and set the value of “Frames” to 60.
You can control VokoScreen through following hotkeys:
- Start recording: <CTRL + SHIFT + F10>
- Pause recording: <CTRL + SHIFT + F12>
- Stop recording: <CTRL + SHIFT + F11>
Simple Screen Recorder
Simple Screen Recorder, contrary to its name, is a feature-rich screen recorder with plethora of options. With a built-in configured wizard, you can configure the recording behavior exactly the way you want, though going through configuration wizard every time to record a video can get a bit annoying.
Simple Screen Recorder is available in the official Ubuntu repositories and it can be installed in Ubuntu by running the following command:
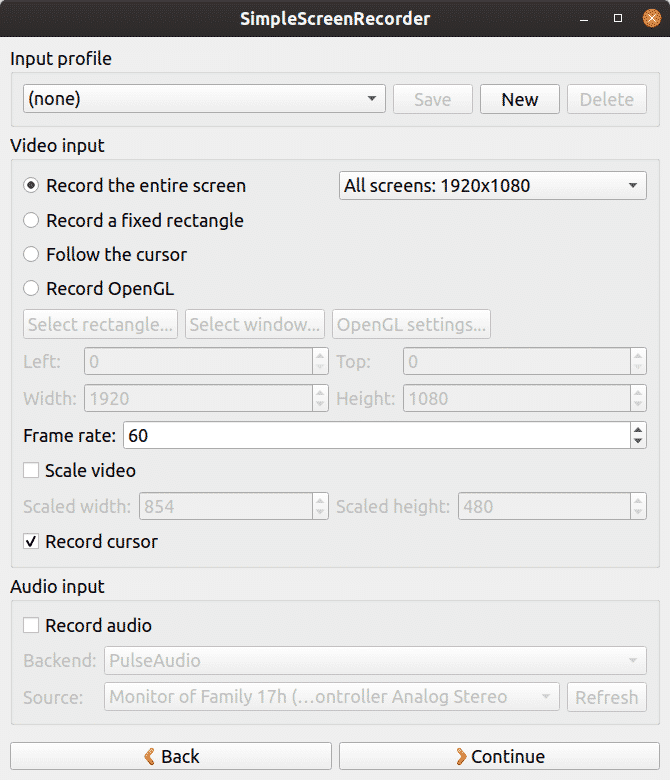
To enable 60 FPS recording, set the frame rate to 60 in configuration wizard, as shown in the screenshot below:
By default, Simple Screen Recorder sets <CTRL + R> as the hotkey for starting, pausing and resuming the video recording. You can customize the hotkey combination in the configuration wizard used for setup of the screen recording.
OBS Studio
OBS (Open Broadcaster Software) Studio allows you to record and stream live video content. It supports live RTP streaming to various streaming sites, encoding using H264 (x264) and AAC, unlimited number of scenes and sources, file output to MP4 or FLV, GPU-based game capture for high performance game streaming etc. Note that OBS Studio requires an OpenGL 3.2 compatible video card.
OBS Studio is available in the official Ubuntu repositories and it can be installed in Ubuntu by running the following command:
Newer versions can be installed from official PPA provided by the developers of OBS Studio. To install latest build from PPA, run the following commands one by one:
$ sudo add-apt-repository ppa:obsproject/obs-studio
$ sudo apt update
$ sudo apt install obs-studio
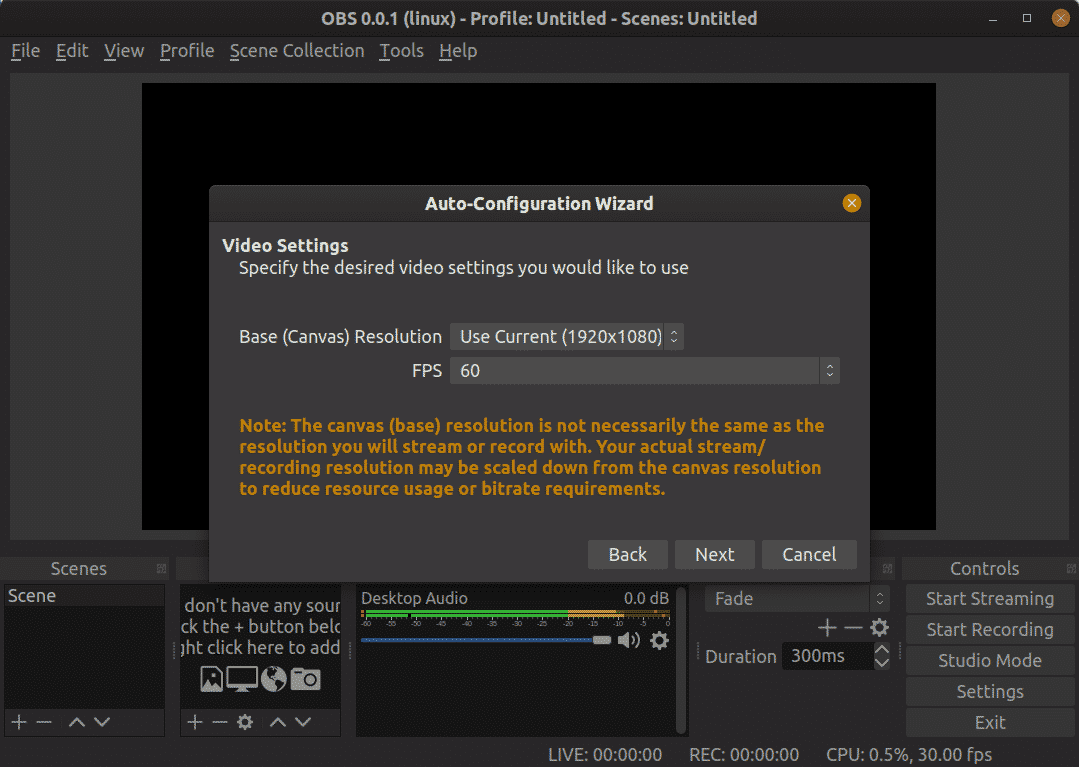
When you first launch OBS Studio, you will get an option in auto configuration wizard to set frame rate of the output video. You can set it to 60 FPS. Auto configuration wizard can be launched again from the “Tools” menu.
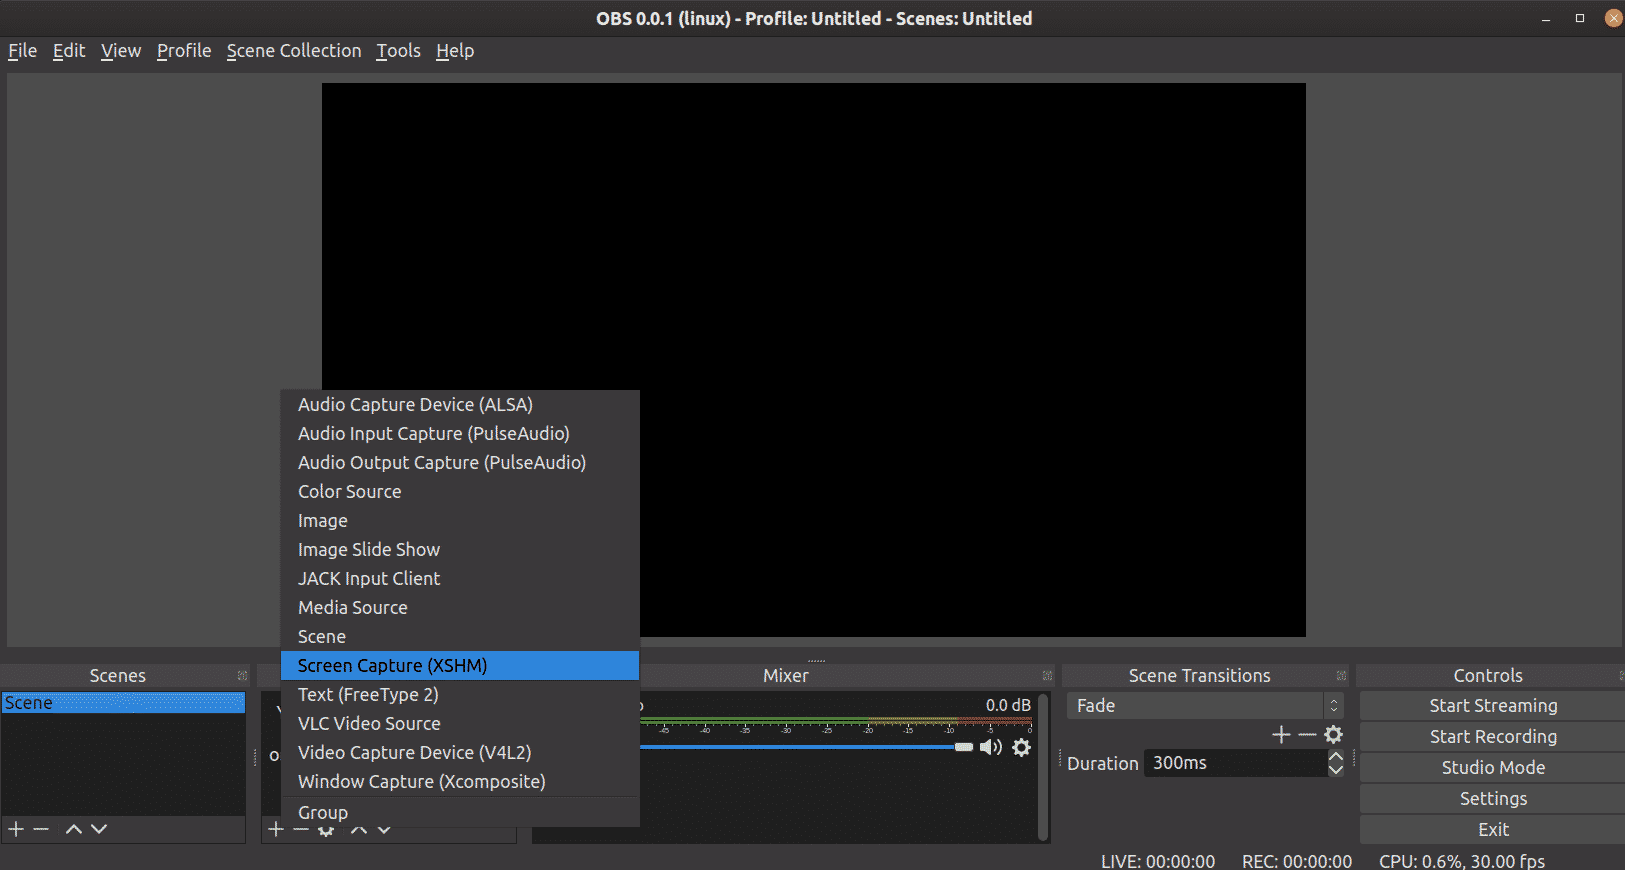
To start recording in OBS Studio, you will have to add capture sources first. In most cases, “Screen Capture (XSHM)” is used for recording screen activity, “Audio Input Capture (PulseAudio)” is used for capturing voice through a microphone and “Audio Output Capture (PulseAudio)” is used to record system sounds coming out through built-in or externally connected speakers.
OBS Studio supports hotkeys, but comes without any defaults. You have to manually set hotkeys to start, pause and resume recordings from the settings menu.
These are the only apps that had no trouble in recording smooth 60 FPS videos at 1920 x 1080 resolution. OBS Studio is the most featureful and especially useful for live streamers. If you are looking for something that just works with a clean and minimal user interface, I would recommend Kazam instead.